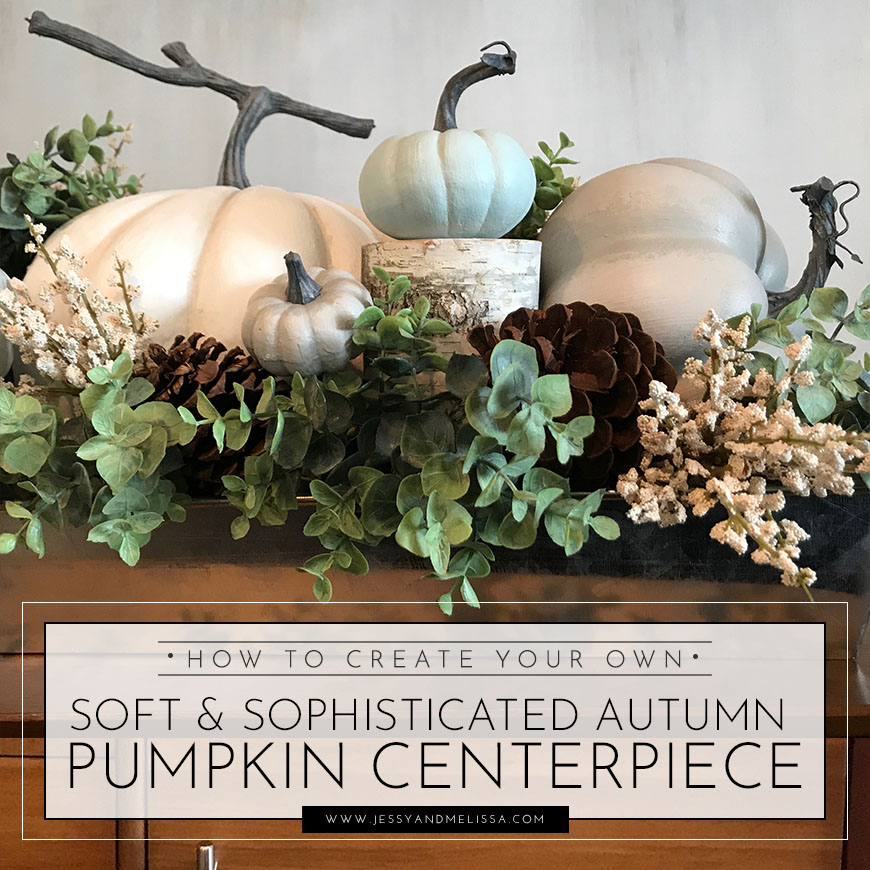
A sophisticated fall centerpiece can really set the mood for your Thanksgiving table. This easy DIY version has muted colors of heirloom pumpkins and looks beautiful in any home.
How To Make Your Own
Share this Project
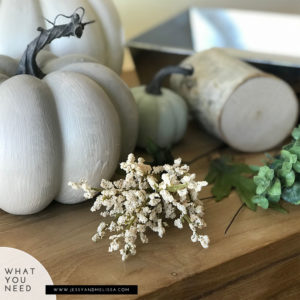
What You Need:
- 24-in Antiqued Tray
- 2 pieces of 1x6x12 Styrofoam Sheets
- 1 large pumpkin [How to paint your own]
- 2 medium pumpkins [How to paint your own]
- 2 medium birch pillar log
- 1 small birch pillar log
- 6 bunches of Faux Eucalyptus
- 3 stems of cream berry filler stems
- Cloth covered stem wire
- 9 (or so) assorted pinecones
- Assorted small pumkins [How to paint your own]

Difficulty Level: Easy
Photo Gallery
What You Do
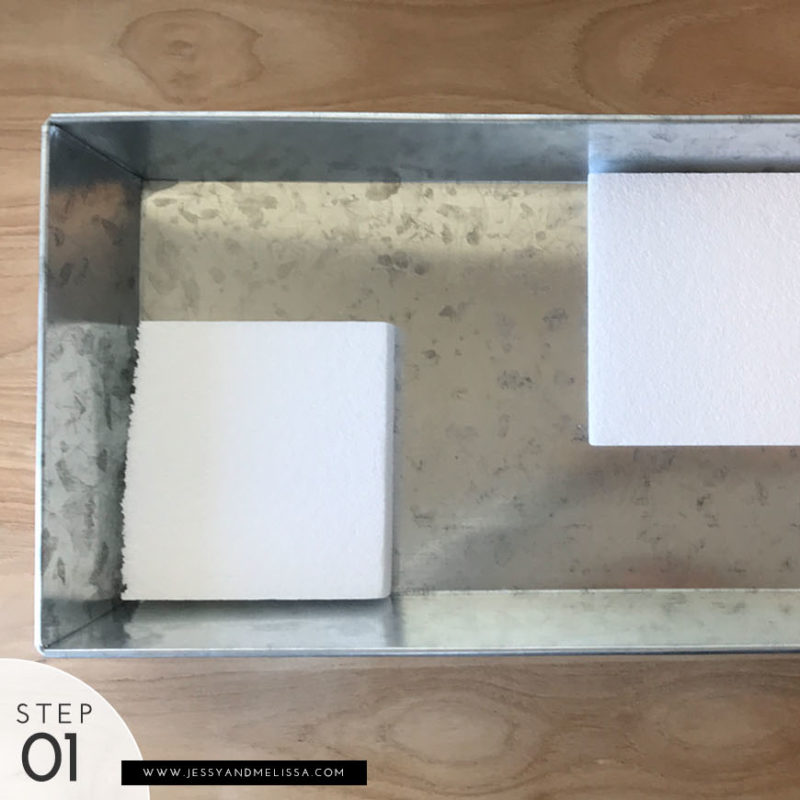
Step 1 : Place the Styrofoam in the Tray
- Cut one of the two styrofoam pieces in half
- Place them in the bottom of the tray like the photo
Step 2: Place the larger pumpkins and birch pillers on the tray
- Put the largest pumpkin in the middle
- Angle the other 2 pumpkins so that one is facing each side
- Place the pillars in the largest empty spaces
Step 3: Place the medium pumpkins on the birch pillars
- Place the medium pumpkins on top of the birch pillars
- Try to spread out the colors, putting the small blue pumpkins on the opposide side of the larger blue pumpkin etc.
Step 4: Fill the emplty areas with the eucalyptus, berries and pinecones
- Separate the eucalyptus into their individual bunches. You should have 3 for each single bunch.
- Cut the long stems of the berries off right under the leaves. You should have 3 for every stem.
- Insert the eucalyptus, berries, and pinecones into the empty spaces. It looks nice when the stems overflow so don’t push them in too far.
Step 5: Add the final small pumpkins
- Take the stem wire, and fold it in half
- Stick it in the bottom of one of the remaining small pumpkins. It should go in pretty easy since the pumpins are styrofoam.
- Stick the pumpkins in at an angle wherever it feels a little too green.
Step 6: Place the tray on your table
- Place it on the center of your table.
- Enjoy!


