This wave patterned blanket pattern is the perfect size for a stroller.
What You Need
You may always select a different brand yarn for any our projects.What you do:
I made this a baby blanket, with measures 32 inches by 48 inches. The modern, yet simple pattern really makes this blanket a wonderful gift for a toddler.Noah’s Wave Blanket Crochet Pattern
This easy blanket pattern is the perfect size for a stroller.Foundation Row
- Using a J 6.00 MM crochet hook ch 122 of Color A
- Turn.
Row 1 – Color A Border Row
- In the second stitch from hook, 1 sc in each stitch to the end of the foundation chain
- Turn
Row 2 – Color B Wave First Row
- Change Color B
- ch 1
- In the first stitch from the hook, 1 sc
- 1 sc
- 1 hdc
- 1 dc in next 5 stitches
- 1 hdc
- 1 sc in the next 3 stitches
- Repeat steps 5 to 8 until the end of the row
- Turn
Row 3 – Color B Wave Second Row
- Repeat Row 2
- Turn
Row 4 – Color A Border Row
- Change Color A
- ch 1
- In the first stitch from the hook, 1 sc
- 1 sc in each stitch to the end of the row
- Turn
You will now have a light blue wave with a darker blue border on the top and the bottom.
Row 5 – Color C Wave First Row
- Change Color C
- ch 1
- In the first stitch from the hook, 1 dc
- 1 dc in the next 2 stitches (you’ll have 3 dc)
- 1 hdc
- 1 sc in next 3 stitches
- 1 hdc
- 1 dc in the next 5 stitches
- Repeat steps 5 to 8 until the end of the row
- Turn
Row 6 – Color C Wave Second Row
- Repeat Row 5
- Turn
Row 7 – Color A Border Row
- Change Color A
- ch 1
- In the first stitch from the hook, 1 sc
- 1 sc in each stitch to the end of the row
- Turn
Row 8 to Row 15
- Repeat Rows 2 through 7 until you have three Color B waves and two Color C waves (see the photo below)
- Turn
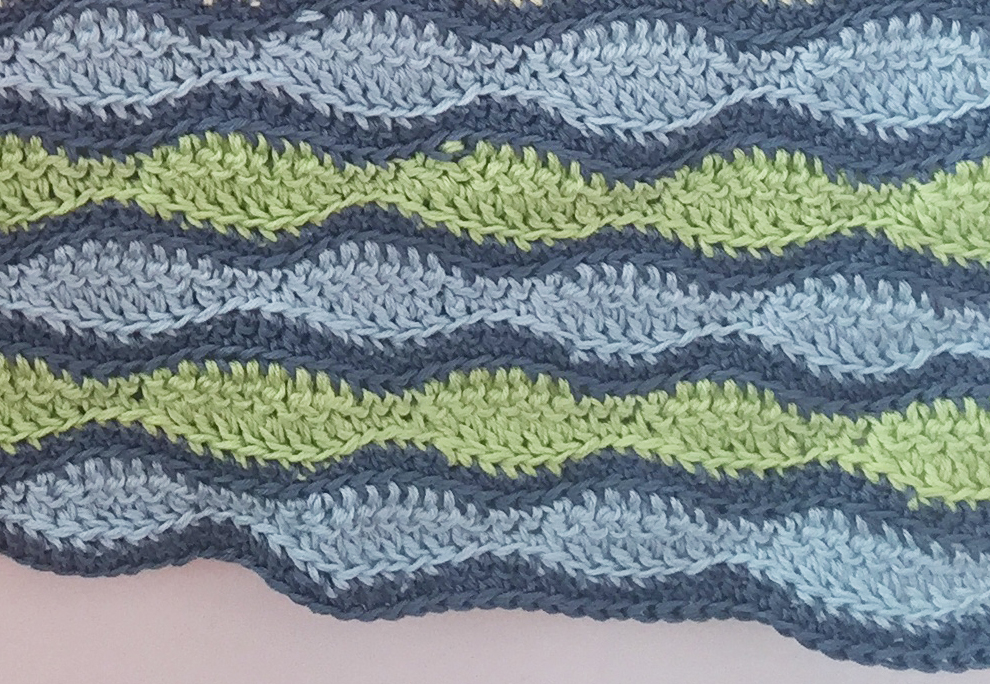
Two green waves, three light blue.
Row 16 – Color D Wave First Row
- Change Color D
- ch 1
- In the first stitch from the hook, 1 sc
- 1 sc
- 1 hdc
- 1 dc in next 5 stitches
- 1 hdc
- 1 sc in the next 3 stitches
- Repeat steps 5 to 8 until the end of the row
- Turn
Row 17 – Color D Wave Second Row
- Repeat Row 16
- Turn
Row 18- Color A Border Row
- Change Color A
- ch 1
- In the first stitch from the hook, 1 sc
- 1 sc in each stitch to the end of the row
- Turn
Row 19 – Color B Wave First Row
- Change Color B
- ch 1
- In the first stitch from the hook, 1 dc
- 1 dc in the next 2 stitches (you’ll have 3 dc)
- 1 hdc
- 1 sc in next 3 stitches
- 1 hdc
- 1 dc in the next 5 stitches
- Repeat steps 5 to 8 until the end of the row
- Turn
Row 20 – Color B Wave Second Row
- Repeat Row 19
- Turn
Row 21 – Color A Border Row
- Change Color A
- ch 1
- In the first stitch from the hook, 1 sc
- 1 sc in each stitch to the end of the row
- Turn
Row 22 to Row 44
- Repeat Rows 16 through 21 three times, until you have five Color B waves and three Color D waves.
- Turn
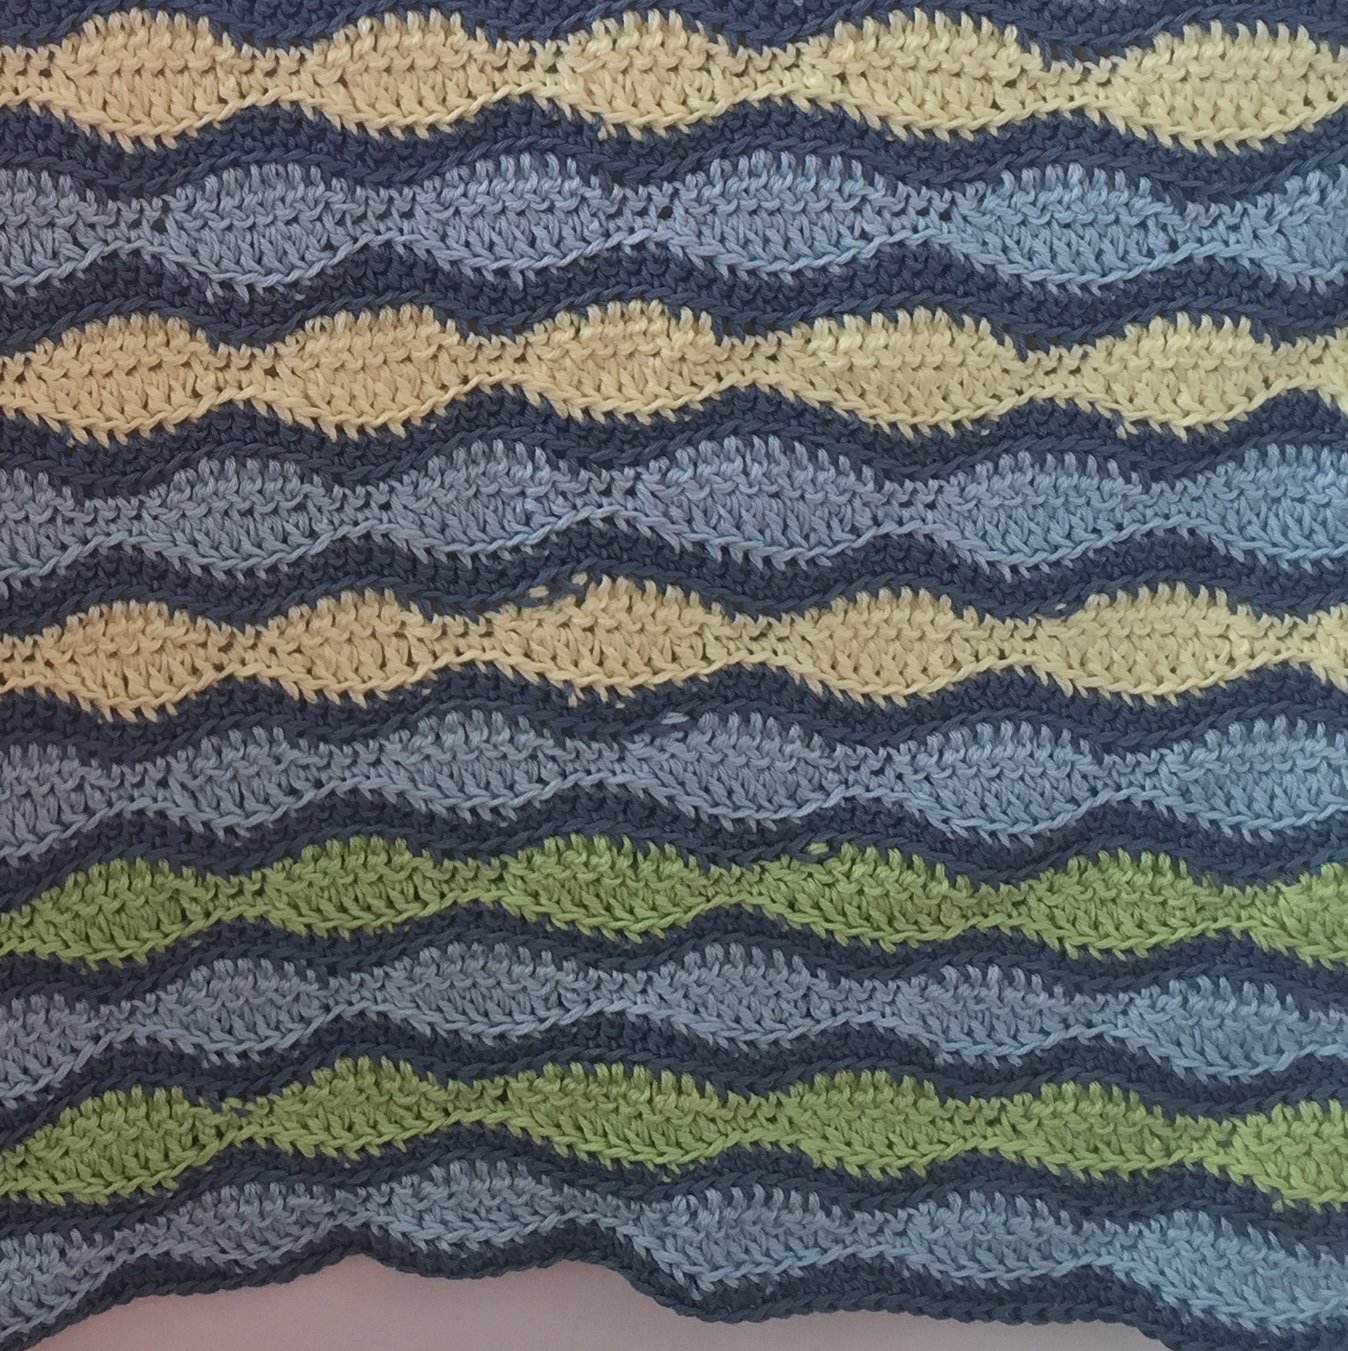
You will now have two green waves and three yellow waves, with light blue in between.
Row 45 to Row 132
- Repeat Rows 2 through 44 until you have two more sets of the the above colored wave pattern (three in total) , or until you are satisfied with the size of your blanket.
- Turn
Blanket Border
Edge Row 1
- ch 1
- In the same stitch, 1 sc
- 1 sc across one side of the blanket
- At the corner 3 sc into the end stitch
Edge Row 3-4
- Repeat edge row 1 around the three remaining sdies of the blanket
- In the same stitch, 1 sc
- 1 sc across one side of the blanket
- At the corner 3 sc into the end stitch
Edging Tip:
If the edges of your blanket are a little ‘frilly’, simply pin one edge of your blanket to your ironing board making sure the sides are straight, get your iron and set it to ‘steam’. Place your iron a inch away from your blanket and let the steam go on it for a few seconds (do not put your iron directly on to the blanket). Wait a few minutes for the blanket to cool and unpin it. Repeat on the other edges.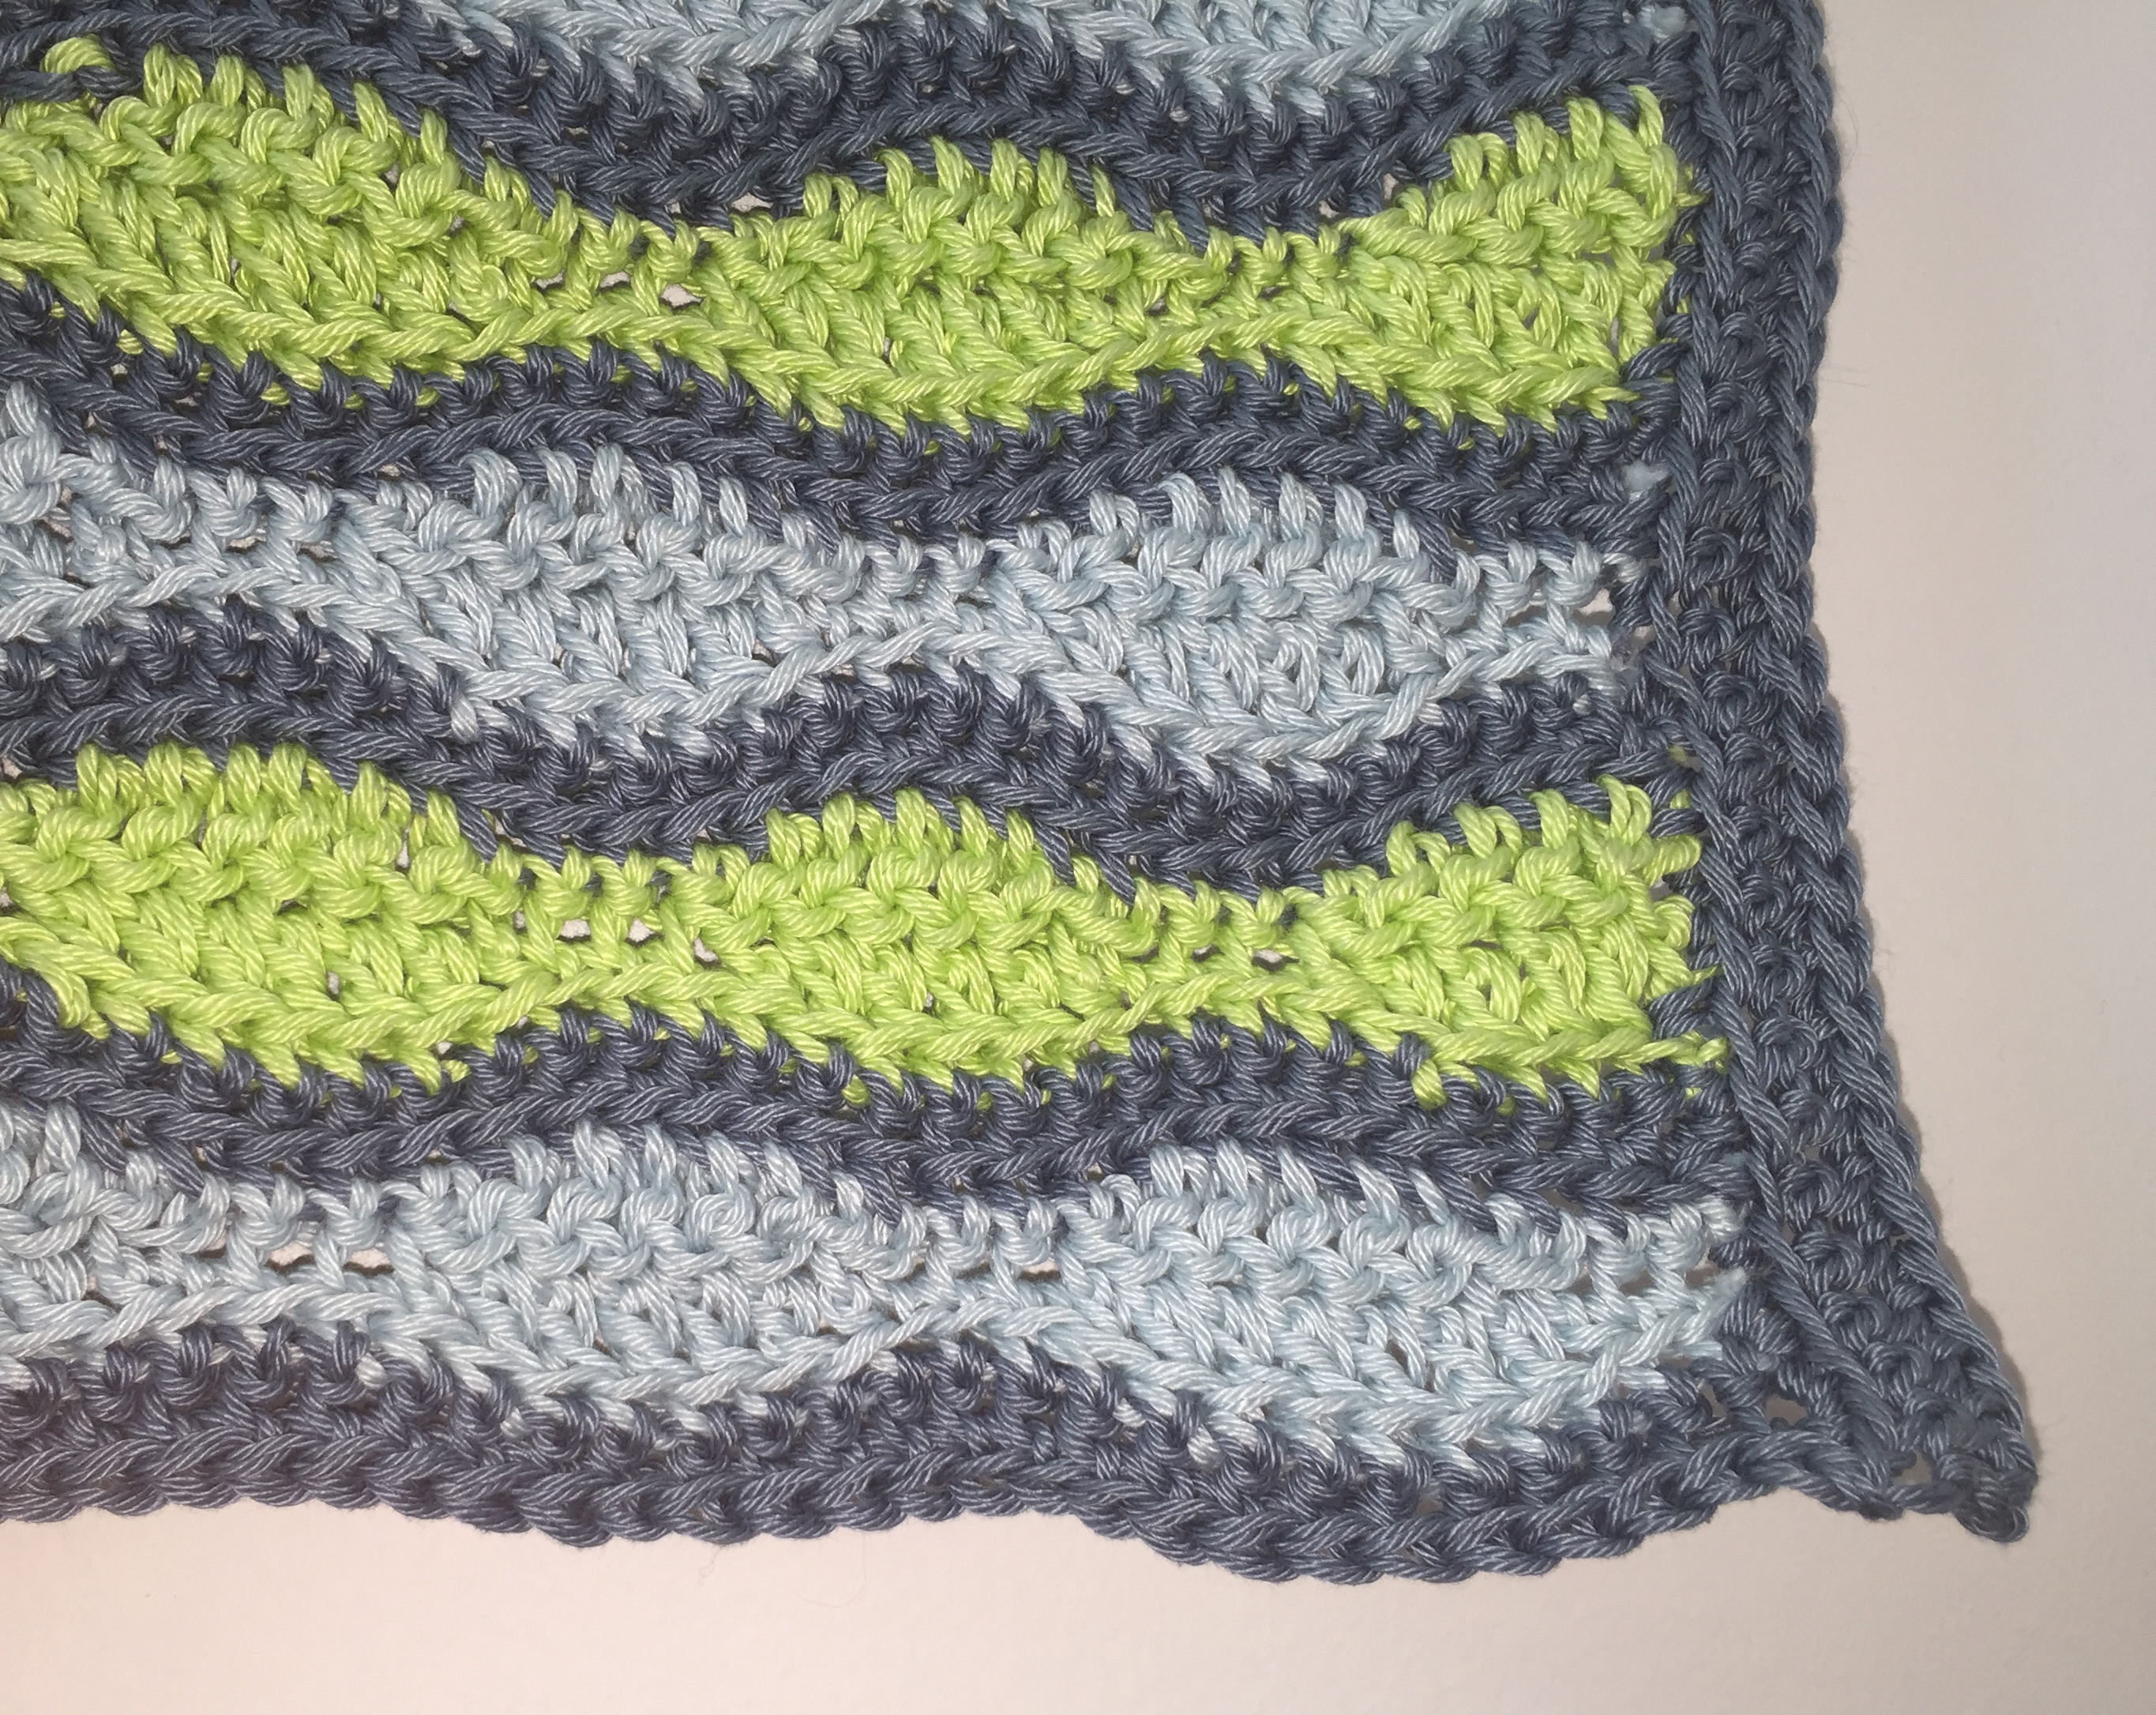
Blanket Edge