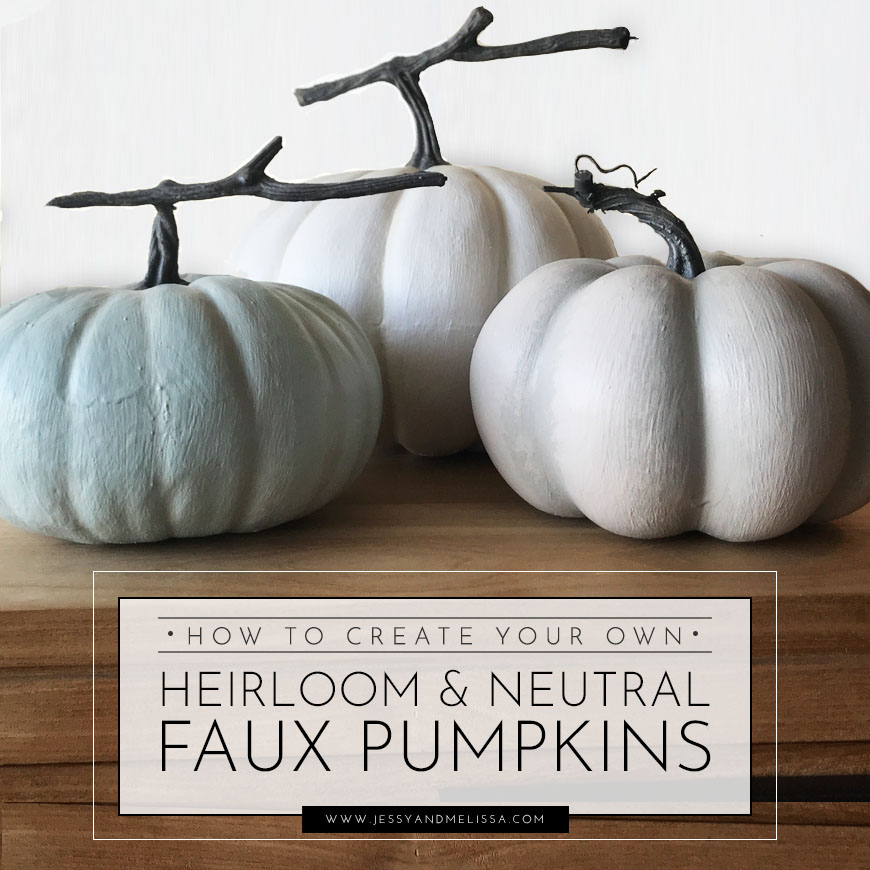
These pumpkins are beautiful for autumn decorating, or a Thanksgiving centerpiece. Painting the inexpensive orange faux pumpkins you can find in any craft store takes them from being tacky to classy! Plus, they are very easy to create.
How To Make Your Own
Share this Project
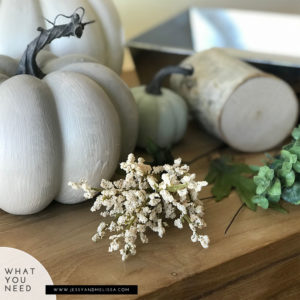
What You Need:
- White Chalk Paint 2 8oz containers
- For the Heirloom Blue Pumpkins (2 of each): Cloud & Wet Cement
- For the White Pumpkins (2 of each): Wedding Cake & Summer Linen
- For the Gray Pumpkins (2 of each): Lake Fog & Wet Cement
- For the Stems (1 of each): Arrowhead & Gray
- Small Paint brushes for detail work
- Biger Paint brushes
- Sea Sponges
- Paint containers< for mixing
- Hot Glue Gun & Glue Sticks
Difficulty Level: Medium
Faux Pumpkins:
What You Do
Step 1 : Remove the stems
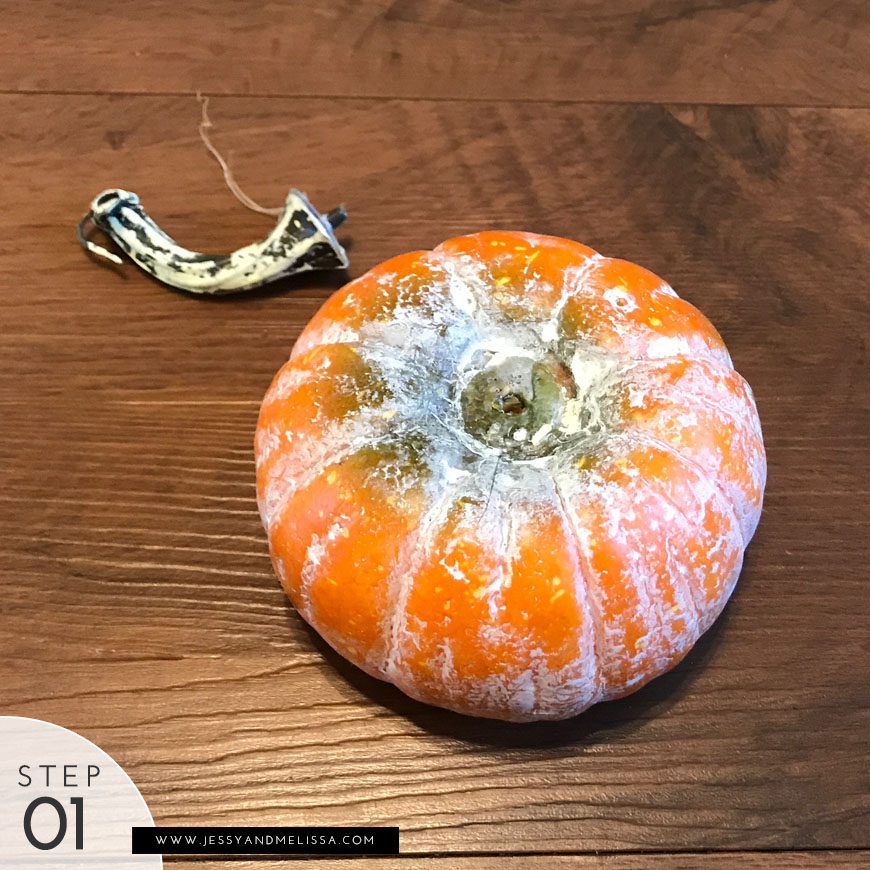
- Using Plyers, remove the stem
Step 2 : Basecode the pumkins

- Pain the pumpkins with the white chalk paint
- Paint enough coats that the pumpkins truly look white and the previous color cannot be seen through (2 or 3 coats)
- Allow to fully dry after each coat
Heirloom Blue Pumpkin Step 3: Paint the primary pumpkin color
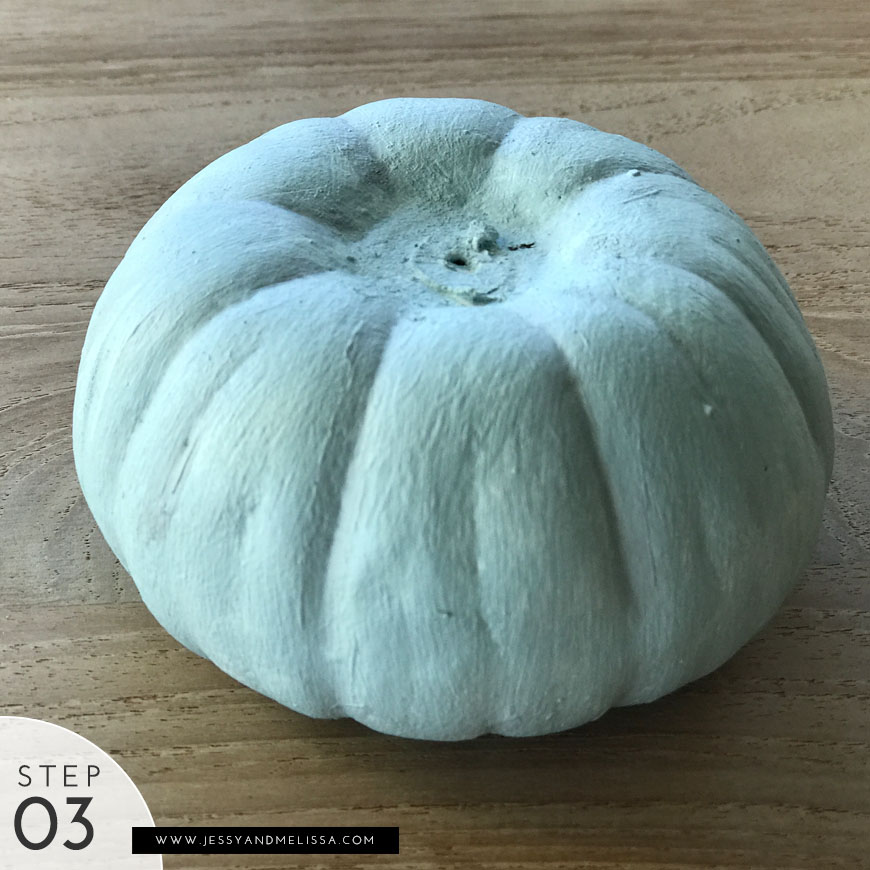
- Paint the pumpkin with Cloud Blue
- Repeat the process until the pumpkin is fully covered, 2 coats
- Allow to fully dry after each coat
Heirloom Blue Pumpkin Step 4: Add the shaddows
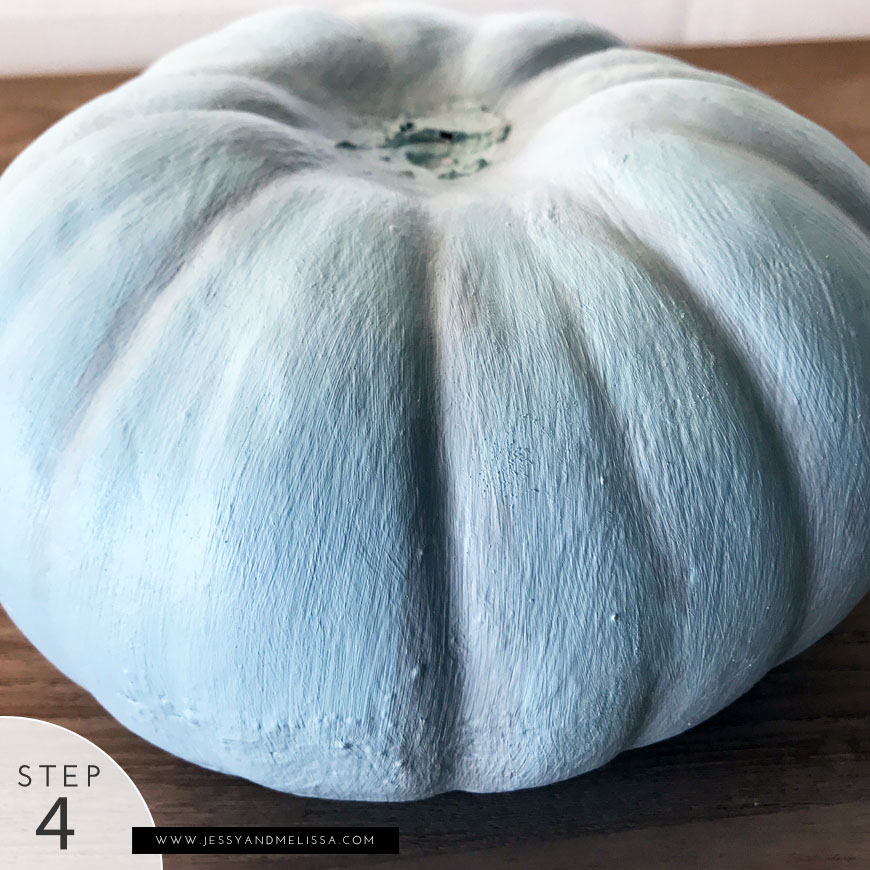
- Mix the shadow paint color, two parts Cloud, one part Wet Cement, mix well
- Using a sponge, dab down the indent crevices of the pumpkin with the darker paint
- Dab around the crevas at the top where the stem will go
- Useing a fine brush, draw down the crevis lines with the shadow paint
- Allow to fully dry after each coat
White Pumpkin Step 5: Paint the primary pumpkin color
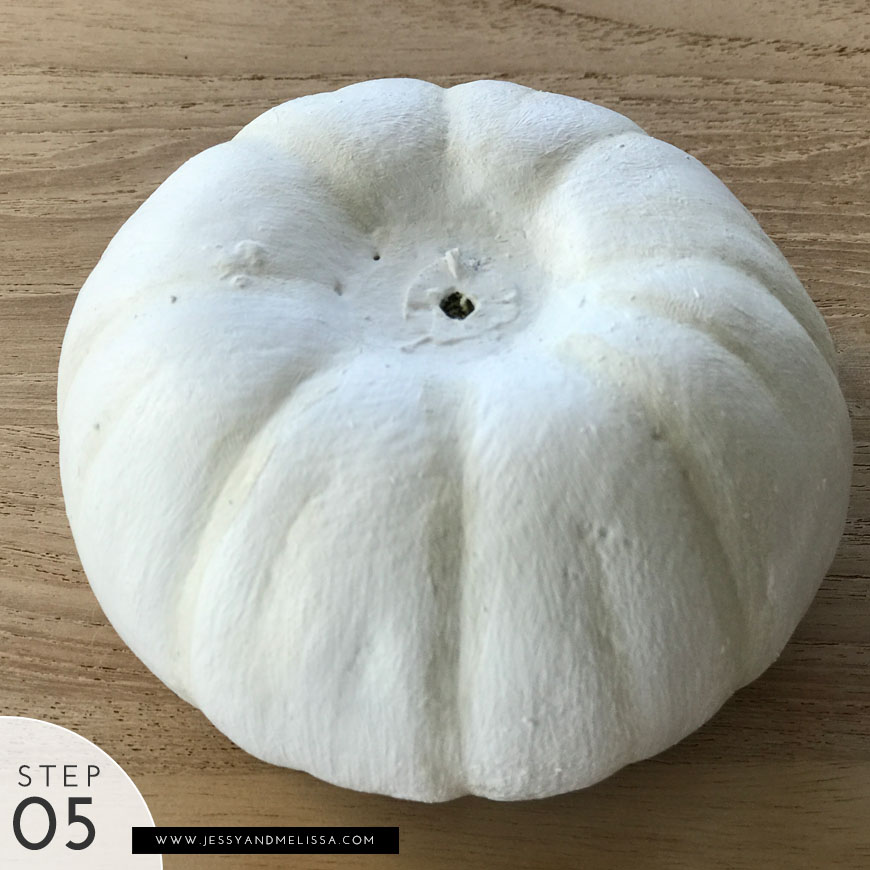
- Paint the pumpkin with Wedding Cake white
- Repeat the process until the pumpkin is fully covered, 2 coats
- Allow to fully dry after each coat
White Pumpkin Step 6: Add the shaddows
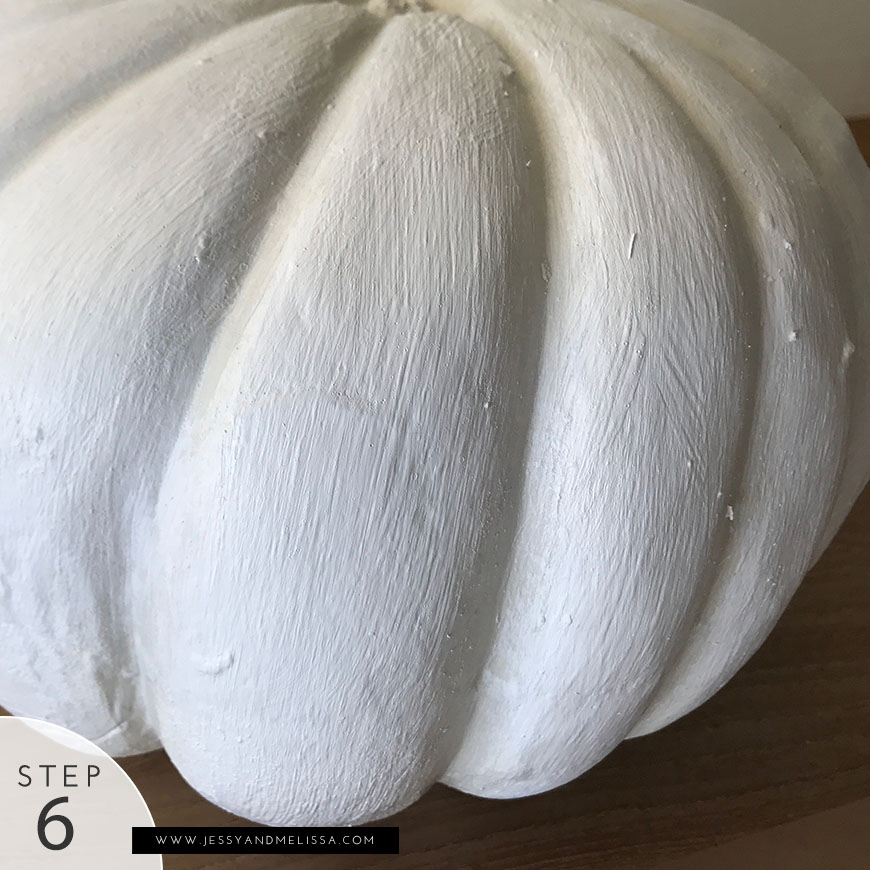
- With Summer Linen, take a sponge, dab down the indent crevices of the pumpkin with the darker paint
- Dab around the crevas at the top where the stem will go
- Useing a fine brush, draw down the crevis lines with the shadow paint
- Allow to fully dry after each coat
Gray Pumpkin Step 7: Paint the primary pumpkin color
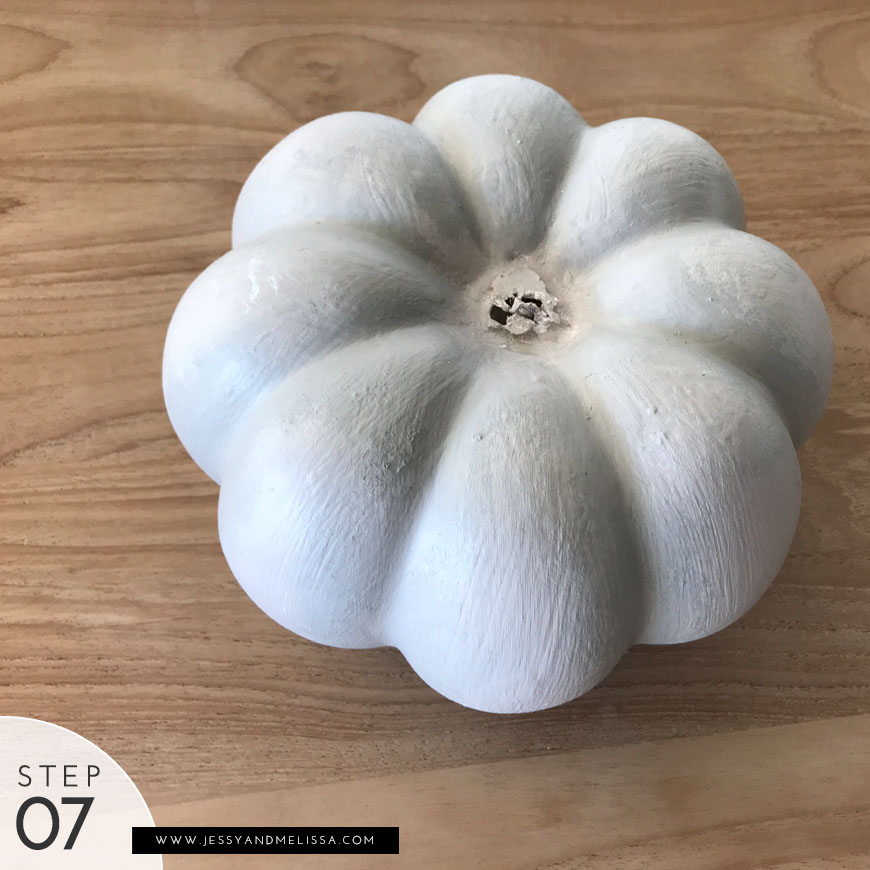
- Paint the pumpkin with Lake Fog gray
- Repeat the process until the pumpkin is fully covered, 2 coats
- Allow to fully dry after each coat
Gray Pumpkin Step 8: Add the shaddows
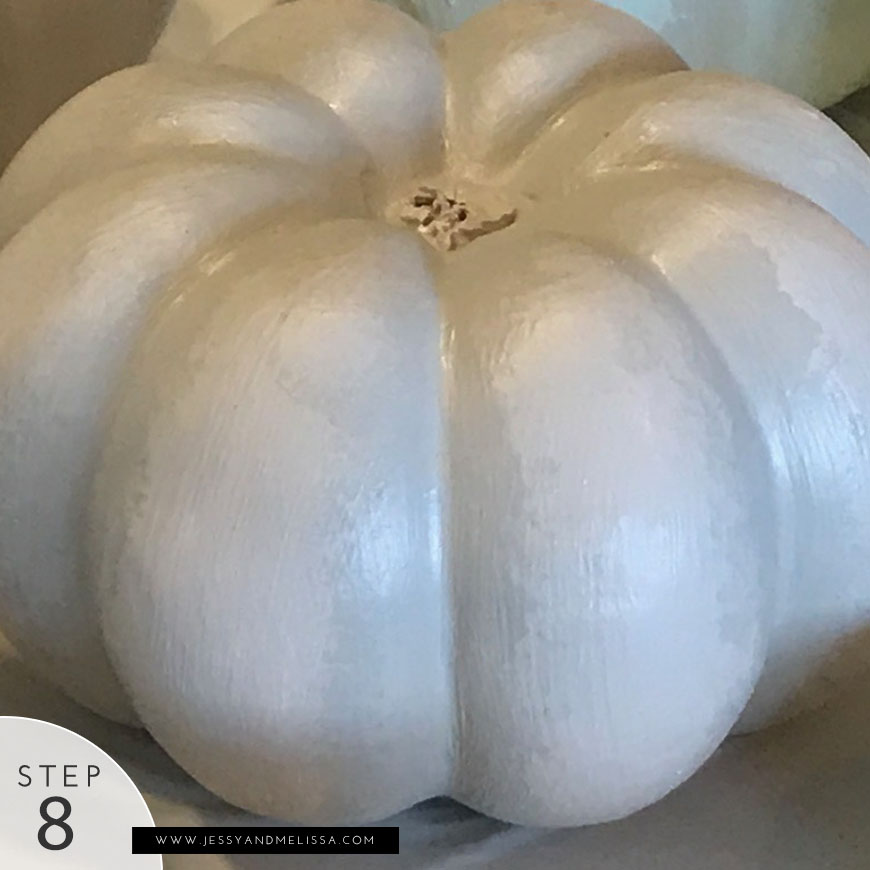
- With Wet Cement, take a sponge, dab down the indent crevices of the pumpkin with the darker paint
- Dab around the crevas at the top where the stem will go
- Useing a fine brush, draw down the crevis lines with the shadow paint
- Allow to fully dry after each coat
Step 9: Paint the base color of the stems
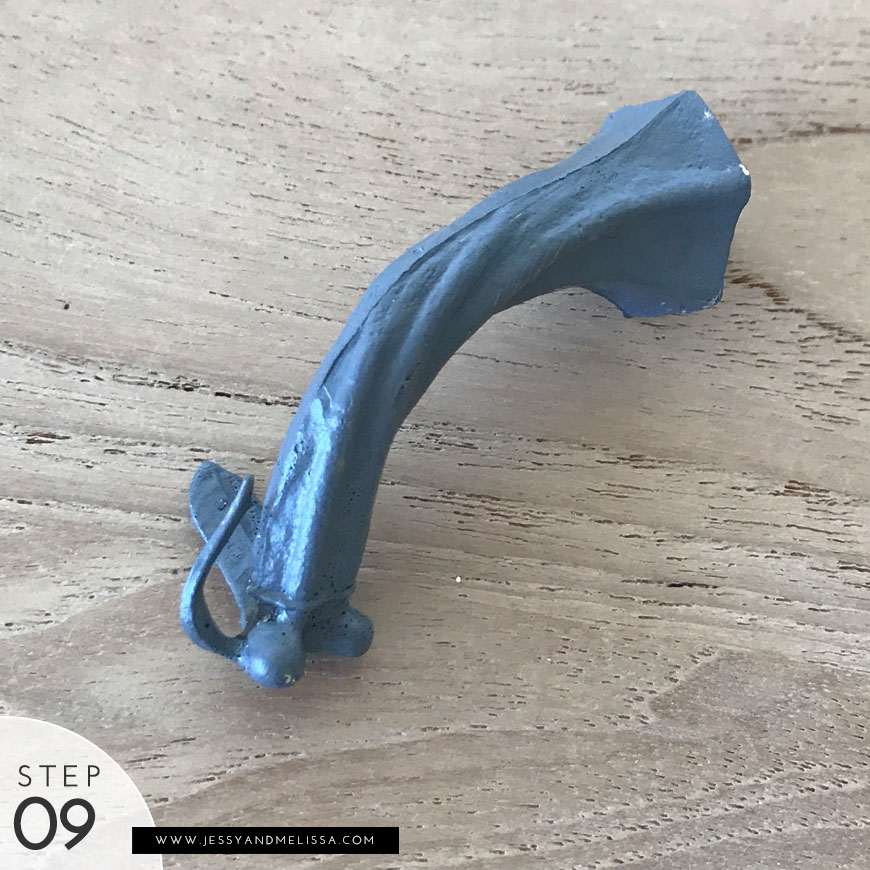
- With Arrowhead, cover all of the stems
- Allow to fully dry
Step 10: Add some texture
- Using gray, and the sea sponge, randomly cover the stems
- Allow to fully dry
Step 11: Hot gule the stems back on the pumpkins

- Using the hot glue gun, glue the stems back on the pumpkins