
There’s just something about a covered play area that opens up the doors to a kiddo’s imagination.
Share this Project
What you need to make a DIU Play Tent:
- 5 yards of fabric for the drape part [fabric I used], a top sheet also works very well.
- 2 yards of fabric for the top of the tent [fabric I used]
- 30 inch hula hoop [These from etsy are collapsible for easy storing and come in lots of colors]
- Non-adhesive Velcro tape
- Straight Pins
- Fabric Scissors
- Pointy Border Template [downloadable pdf ]
- Sewing Machine
- Needle & Thread
- Iron & Ironing board
- 1 ½ inch Pink Satin Ribbon
- 2 Rolls of 6 inch Pink Tulle
- Hook to hang your tent from the ceiling
How to make a Hula Hoop Play Tent
Step 1 : Sew the drape material for the tent.
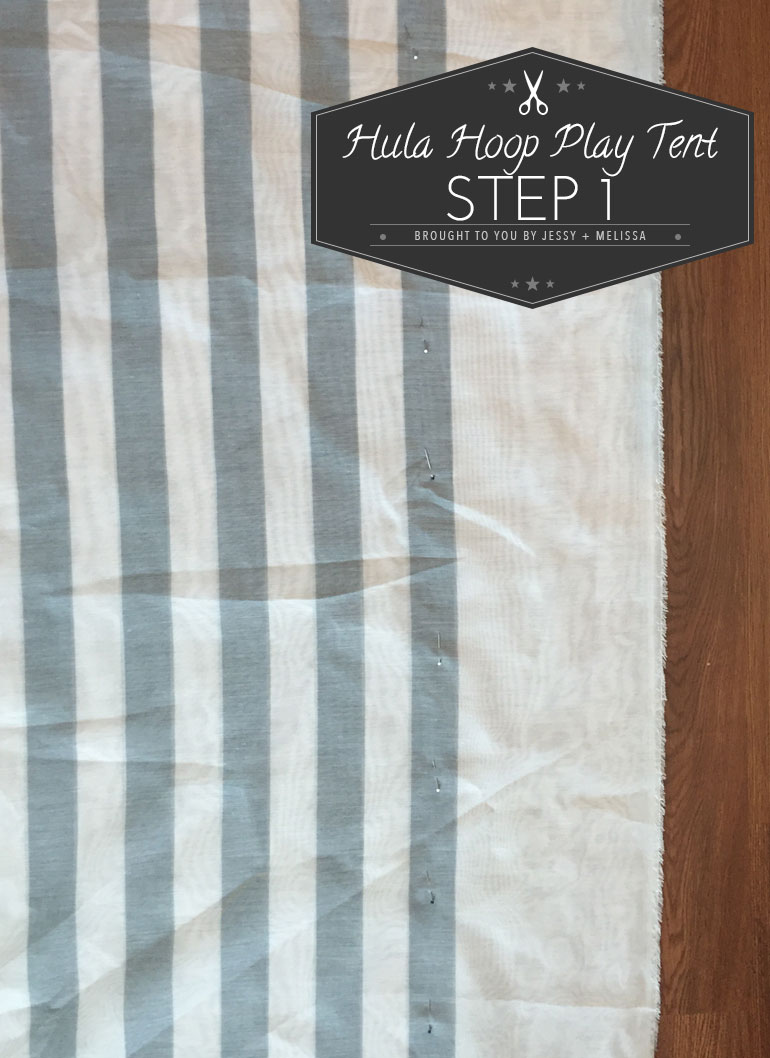
Note:
Skip this step if you are using a sheet.- Cut the drapery yardage into 2 yard sections.
- Connect the sections with one middle seam
- Then hem the bottom and sides of this now very large piece of fabric. Do not hem the top.
Step 2 : Create a pocket on the drape material.
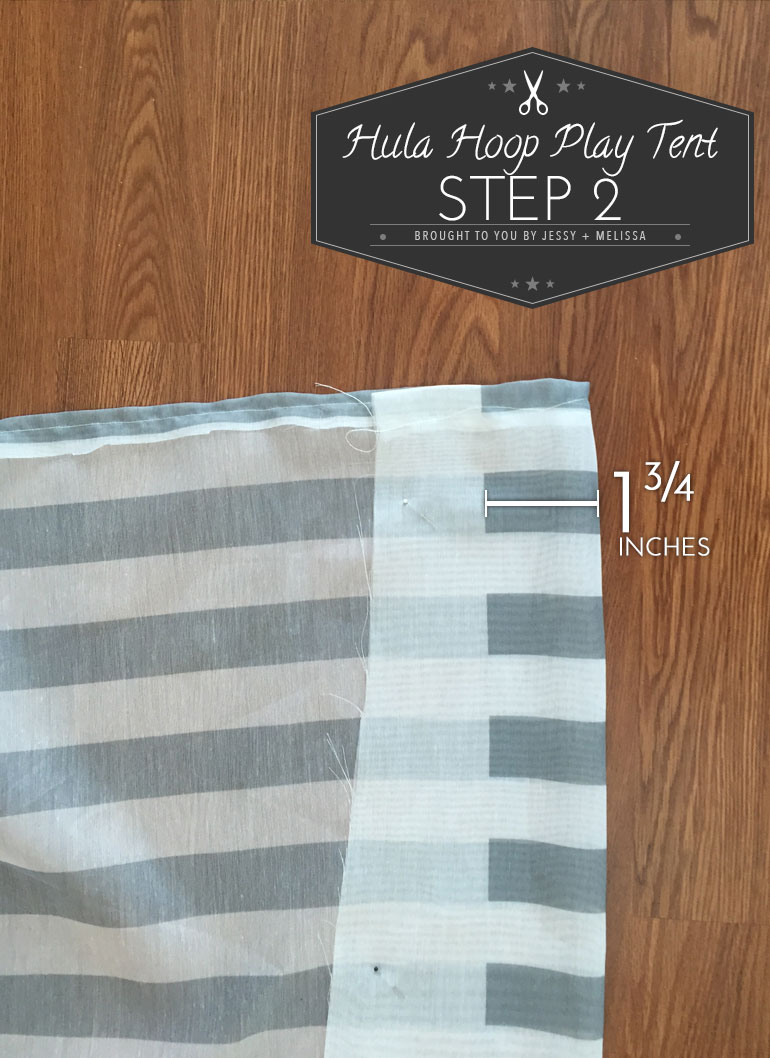
- Fold the un-hemmed side of the material over so that you have a 1 ¾ inch “pocket” and sew across the length
- Cut a piece of ribbon that is the circumference of the hula hoop +1 inch 95 inches – diameter to circumference calculator
- Put the ribbon through the pocket like a curtain rod. Make sure to keep the other end of the ribbon from pulling through the pocket.
Step 3 : Gather the drape material.
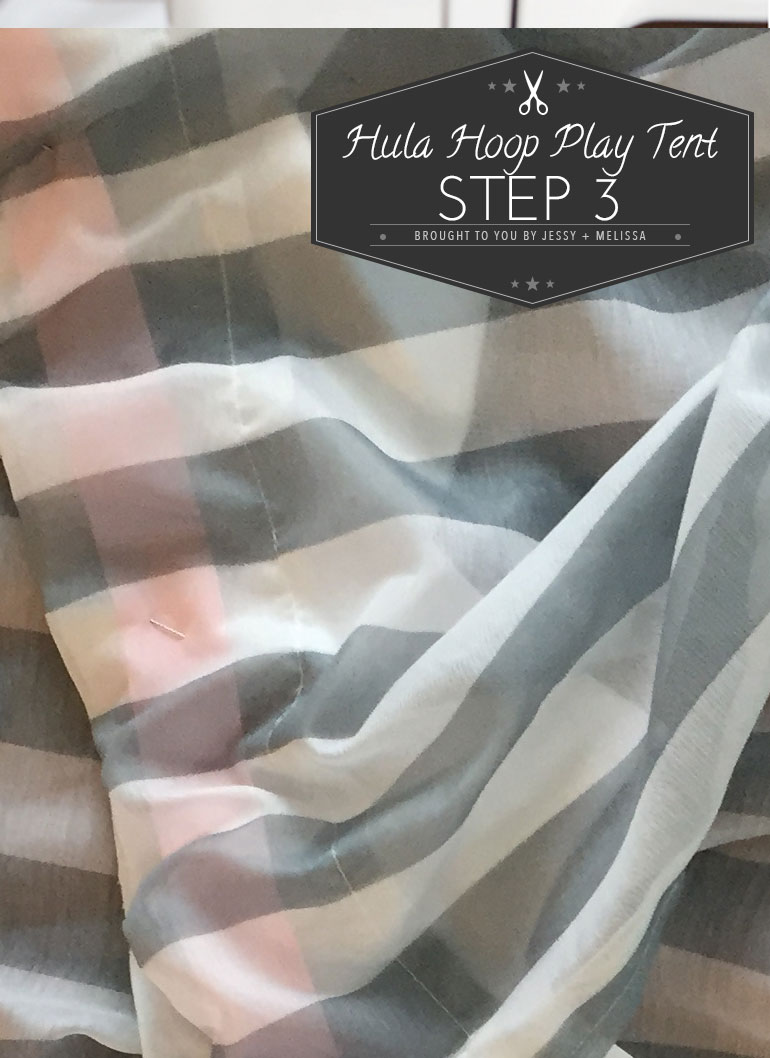
- Pin close the ribbon so you now have a circle the size of your hula hoop.
- Evenly distribute the drape material on the ribbon as you would a curtain on a curtain rod.
- Using a needle and a thread, baste the drape material to the ribbon so that it says distributed, this will make future assembly easier. Pay special attention to the two end ends of the drape material, they should come close to touching, but not overlap.
- Remove the pin, you should now have your drape material nicely gathered for when we attach it to the top part of the tent.
Step 4 : Cut the fabric for the pointed tent top trim.
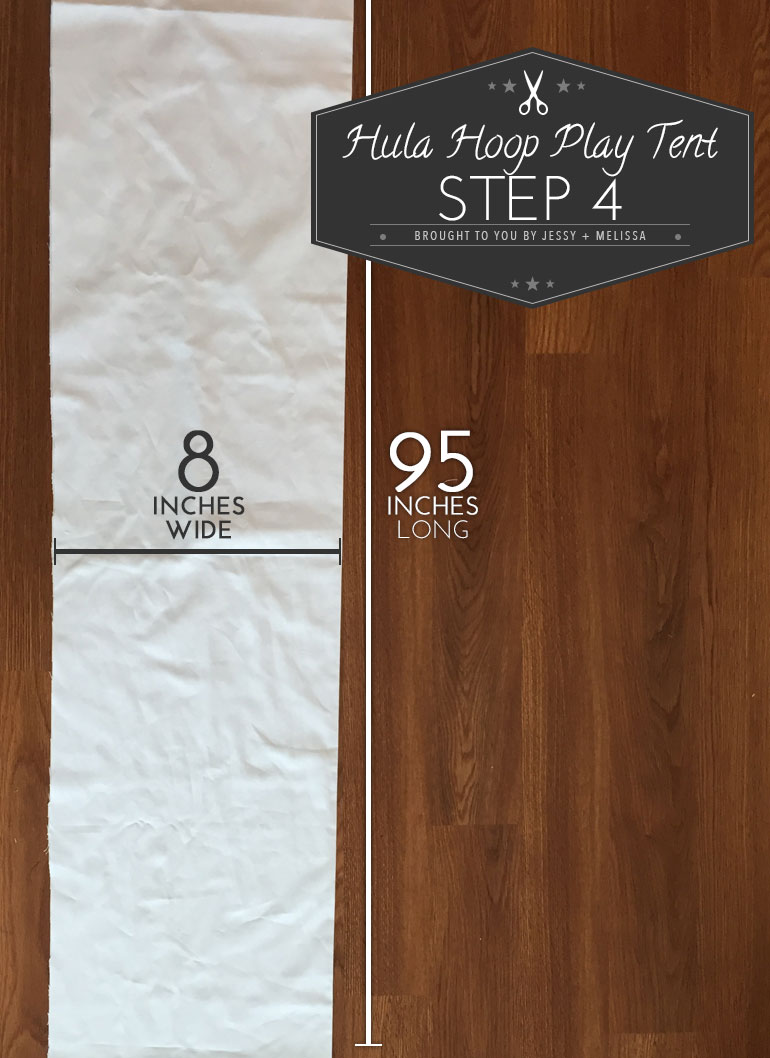
- Create two long strips of your tent material that are 8in x 95in (or the circumference of your hula hoop plus one inch for hem allowance)
Step 5 : Trace the pattern onto the pointed tent top trim
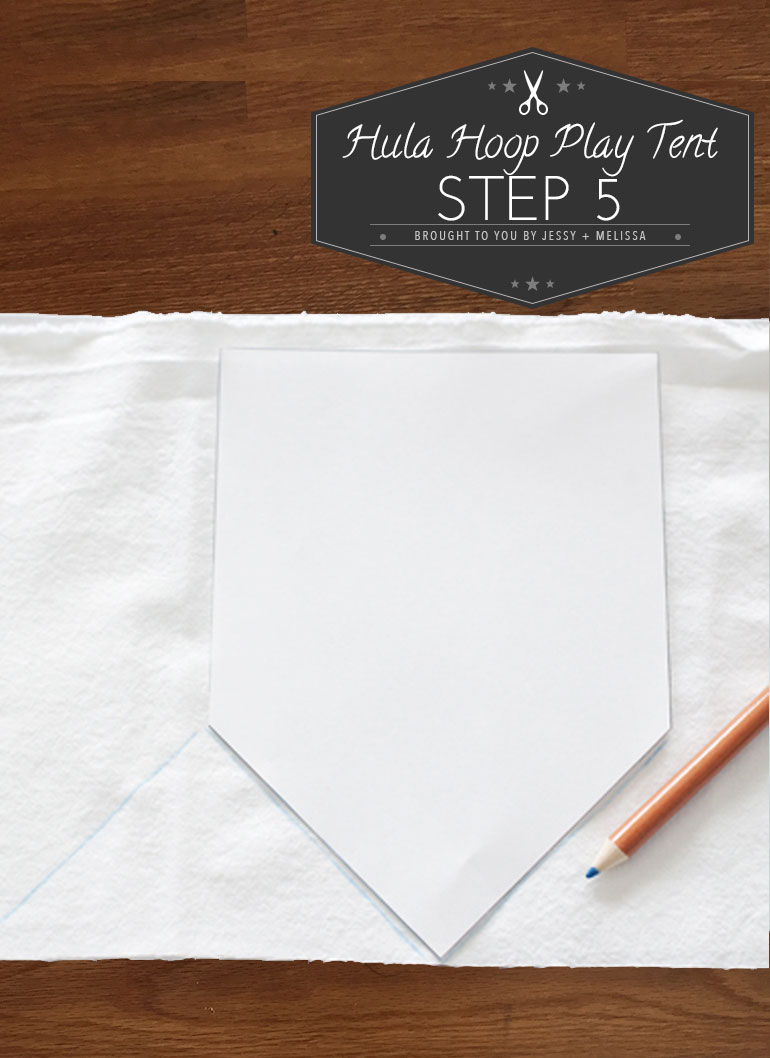
- Print out the pointy border template [pdf]
- Trace it onto one of the the lengths of fabric you made in the previous step.
Note:
You may need to fudge it a bit by making the template close to the previously traced one or further from it. Because hula hoop circumferences vary, I can’t be 100% sure how many repetitions of this template will fit along your fabric strip.Step 6 : Measure & Pin the tent top trim
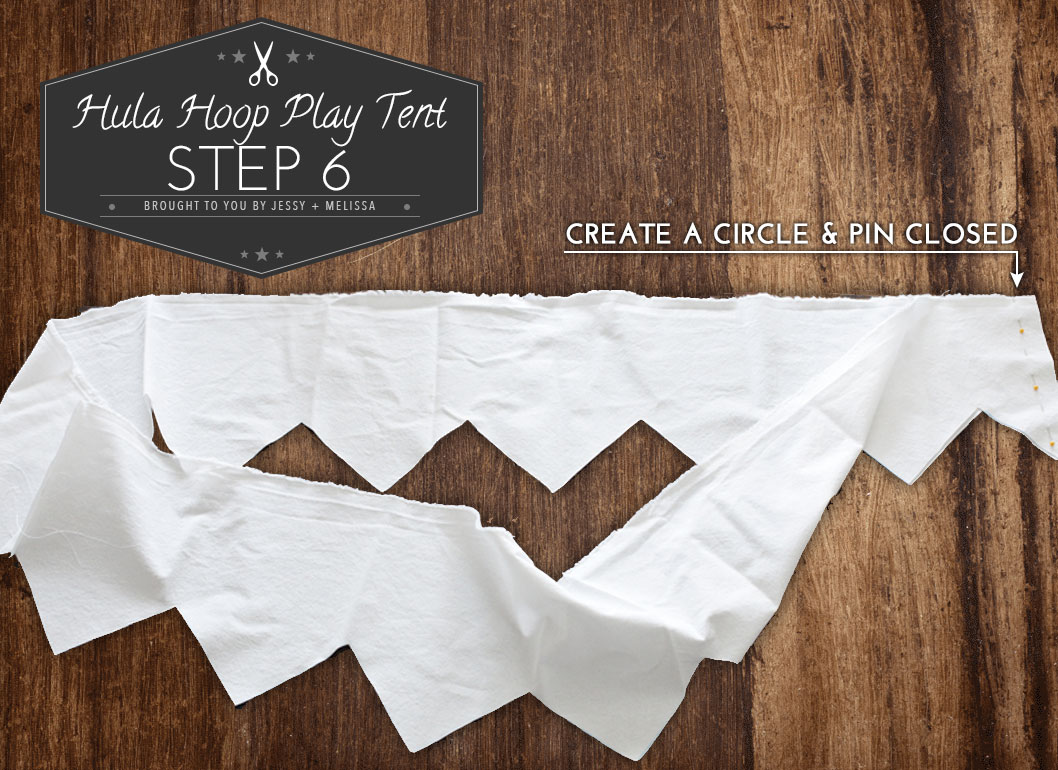
- Layer the two strips of fabric and cut out the zigzag that you just drew in the previous step.
- Fold over the two ends of zigzagged fabric and close the ends with pins.
- Stitch the ends together to make a big circle. Make sure it will fit around your hula hoop.
- Make both strips the exact same sized circle.
Step 7 : Sew together the tent top trim
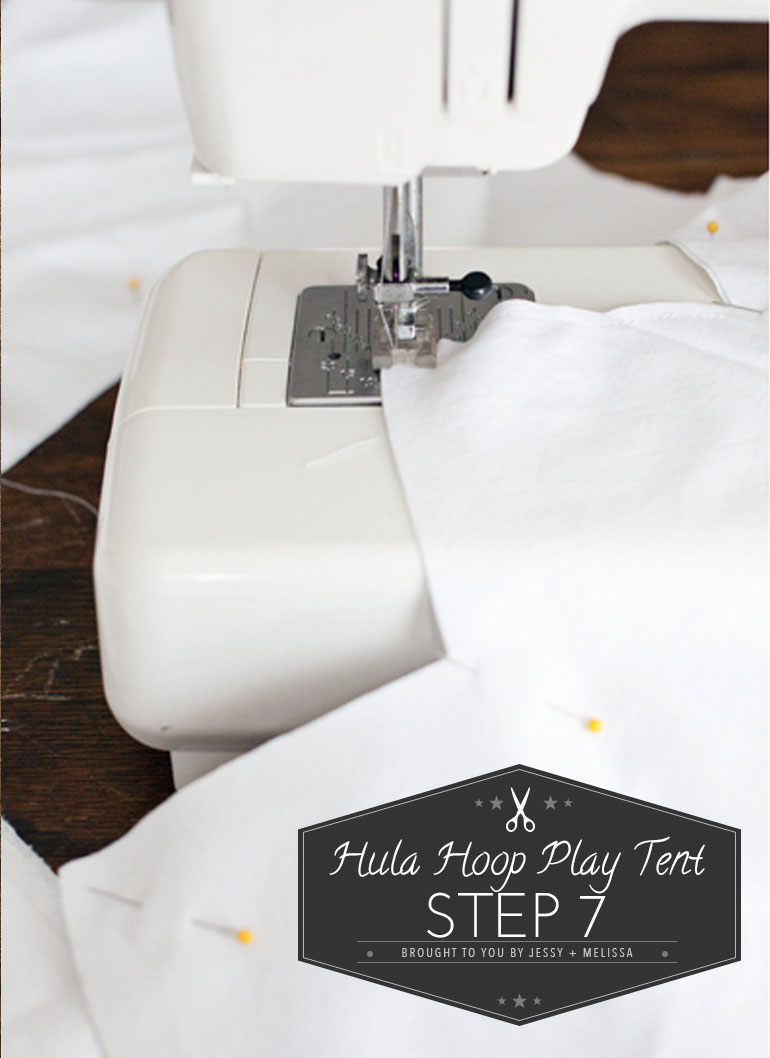
- Place the two zigzagged circles you just made face to face with each other (right sides facing each other) and pin them together along the zigzagged edge.
- Stitch along the pinned zig zagged edges about 1/4 inch from the edge of the fabric.
Step 8 : Iron and complete the tent top trim

- After making your stitch to connect the two pieces, trim the peaks of the zigzags as shown in the photo, and make a tiny slit in the valleys of the peaks, making sure not to cut into your stitching.This will help your fabric lay better and not pucker in the next step.
- Flip the connected zigzag pieces right-side-out and iron flat the zigzag edges. You may need to use a pointy object to get the peaks to poke out to their fullest potential before ironing.
- Stitch closed the straight edge of these connected strips with a wide stitch about 1/4″ from the open edge. This step will keep the pieces from shifting apart when connecting them to the rest of the tent later.
- You now have a circle of zigzag tent top trim.
Step 9 : Measure the material for the tent point
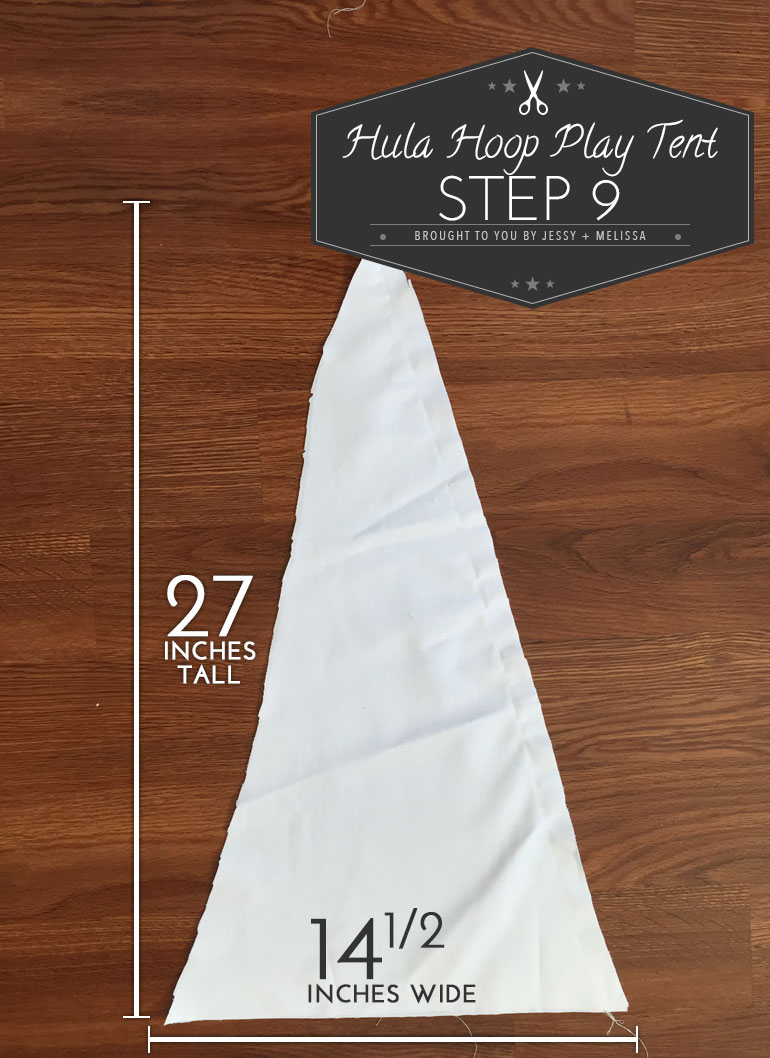
- Cut out 8 triangles, which you will piece together for the top of your tent. Your triangle size depends on the hula hoop measurements. Here’s a formula:
- Width of the triangle base = 1/8 hula hoop circumference + 2.5″ = 14 1/2 inches
- Height of the triangle = 3/4 of the hula hoop diameter + 5″ = 27 inches
Step 10 : Sew the triangles together for the tent point
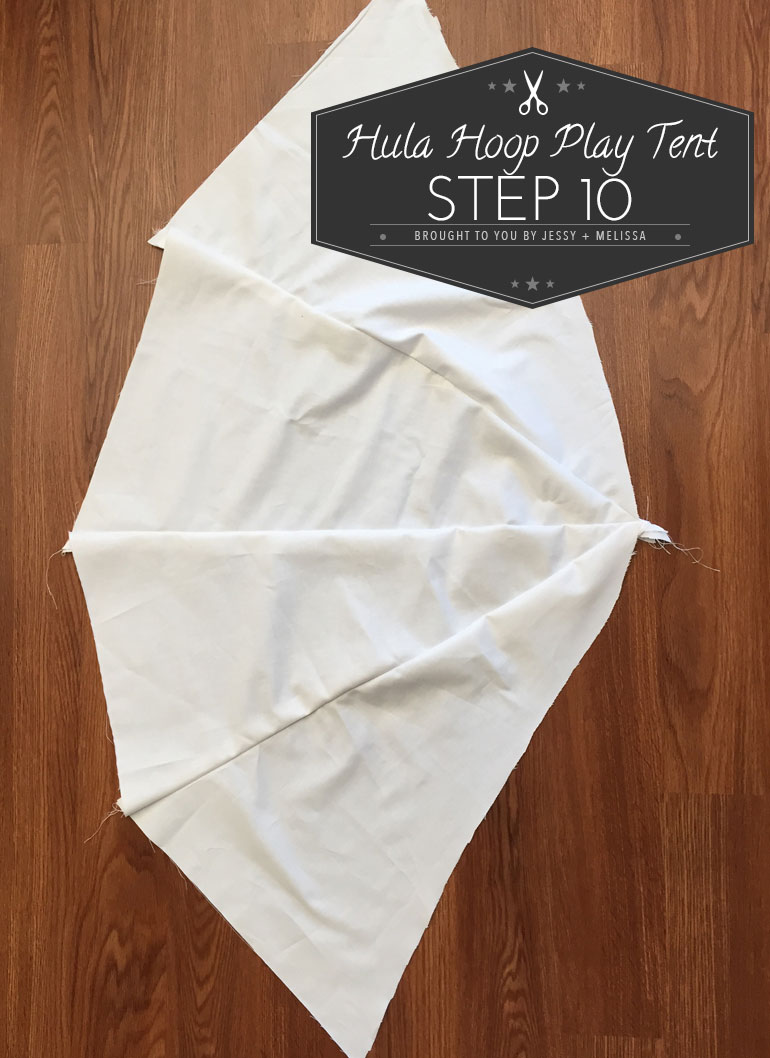
- Pin together and stitch 4 of your triangles to make one half of the tent point.
- Then do the same to the other 4 triangles. Keep your hem stitch only 1/4″ from the edges of the fabric.
Step 11 : Create the ribbon hanger
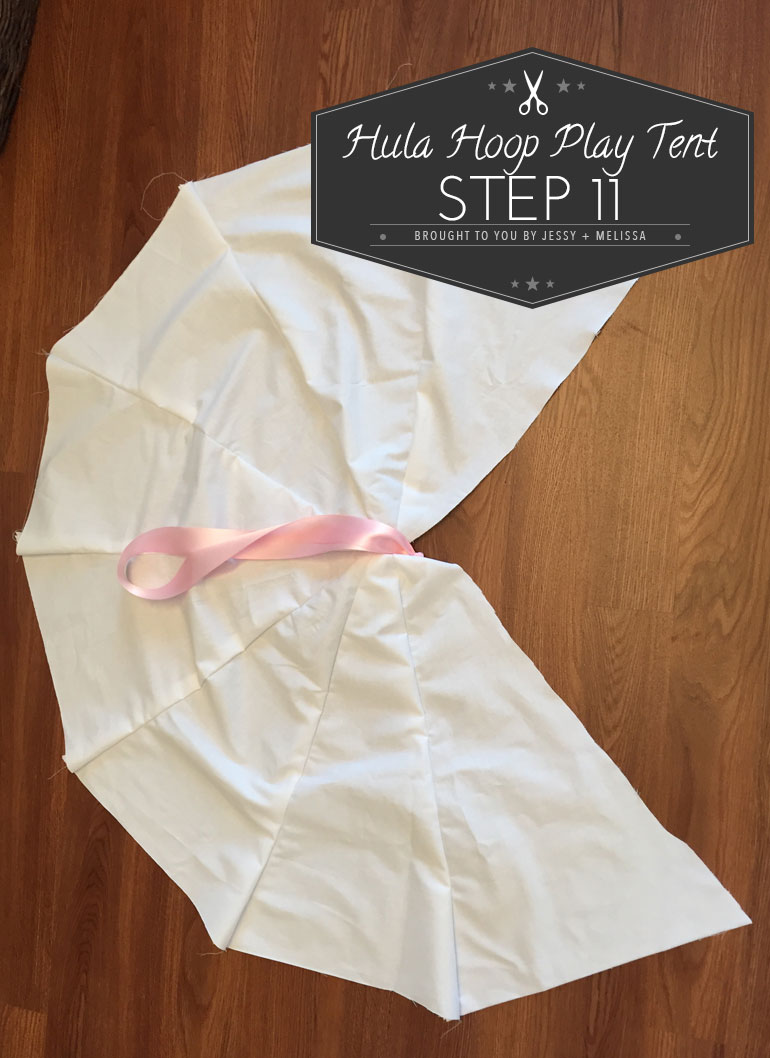
- Cut a 30 inch piece of ribbon
- Fold the ribbon in half, tie a knot and stitch the knot into the points tie small point tend top, making sure 2 inches of surplus hangs below the top point
- Bring the ribbon down over the triangles
Step 12 : Attach the ribbon tent hanger to the top point
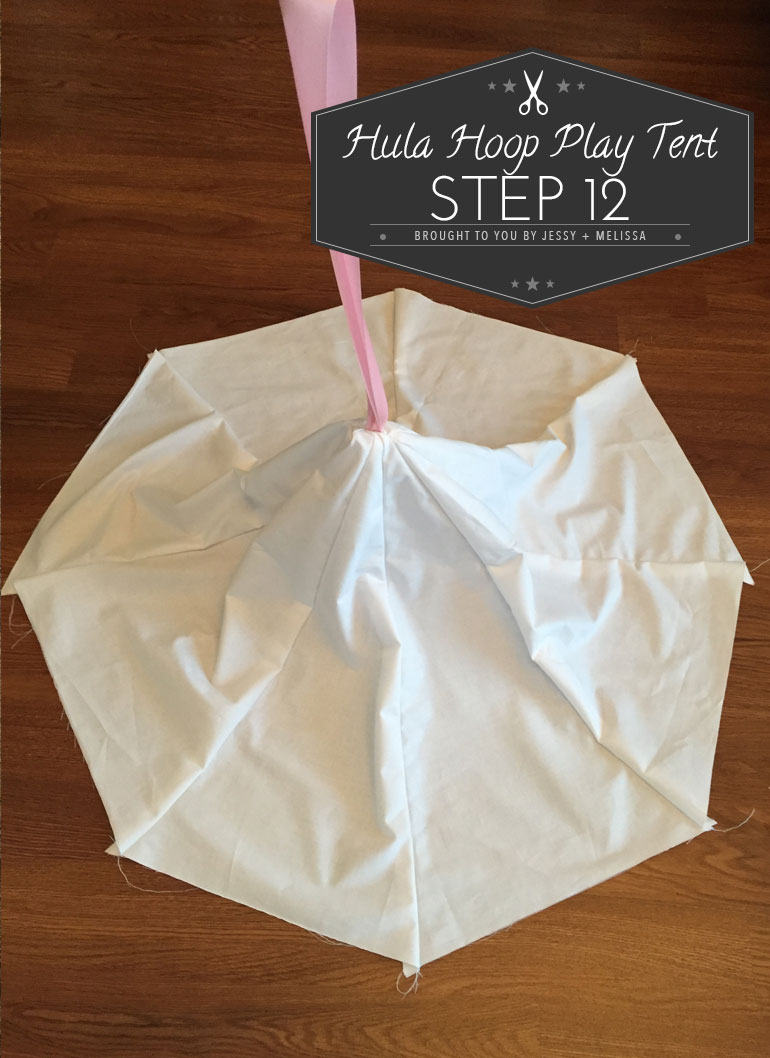
- With your ribbon hanger tucked safely inside, pin together the two halves of the tent point.
- Sew the two halfs together, making a flat stitch at the peak, perpendicular to the the center stitch of the four triangles that make up one half of the tent point.
Step 13 : Add the pink poof to the bottom of the ribbon hanger
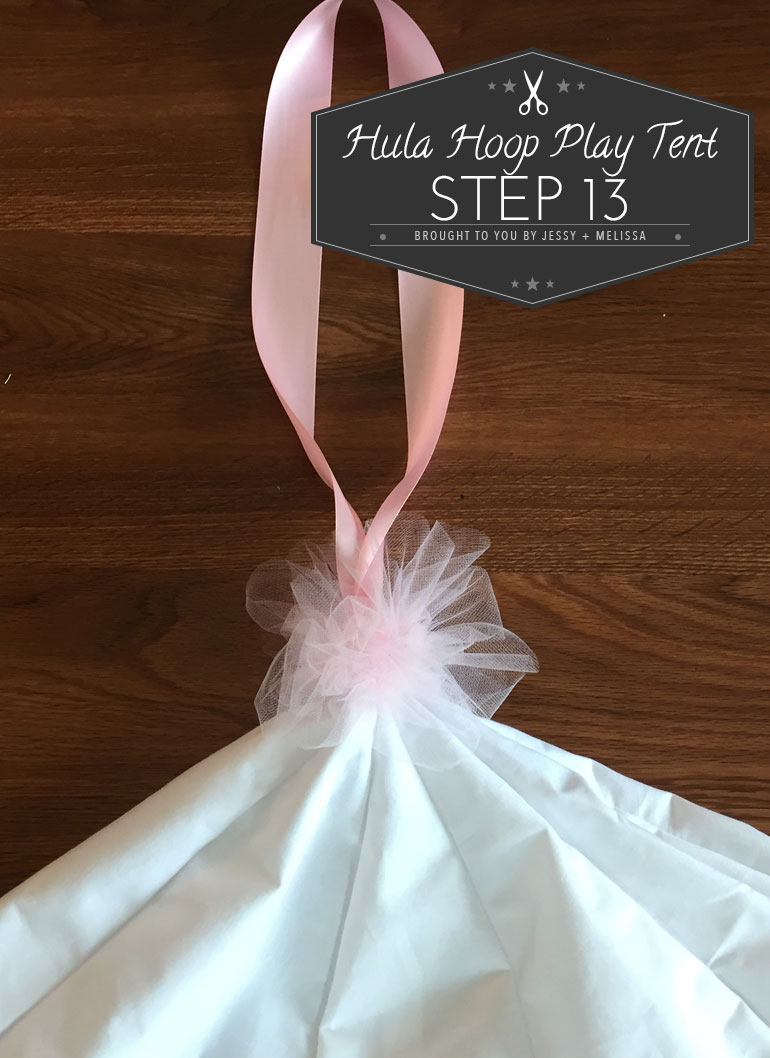
- Using a needle and thread zig zag stitch the pink tulleing though the middle gathering about 2 inches of poof
- Wrap the poof around the bottom of the ribbon, at the top of the point and hand stitch into the ribbon and material.
Step 14 : Trim the tent point
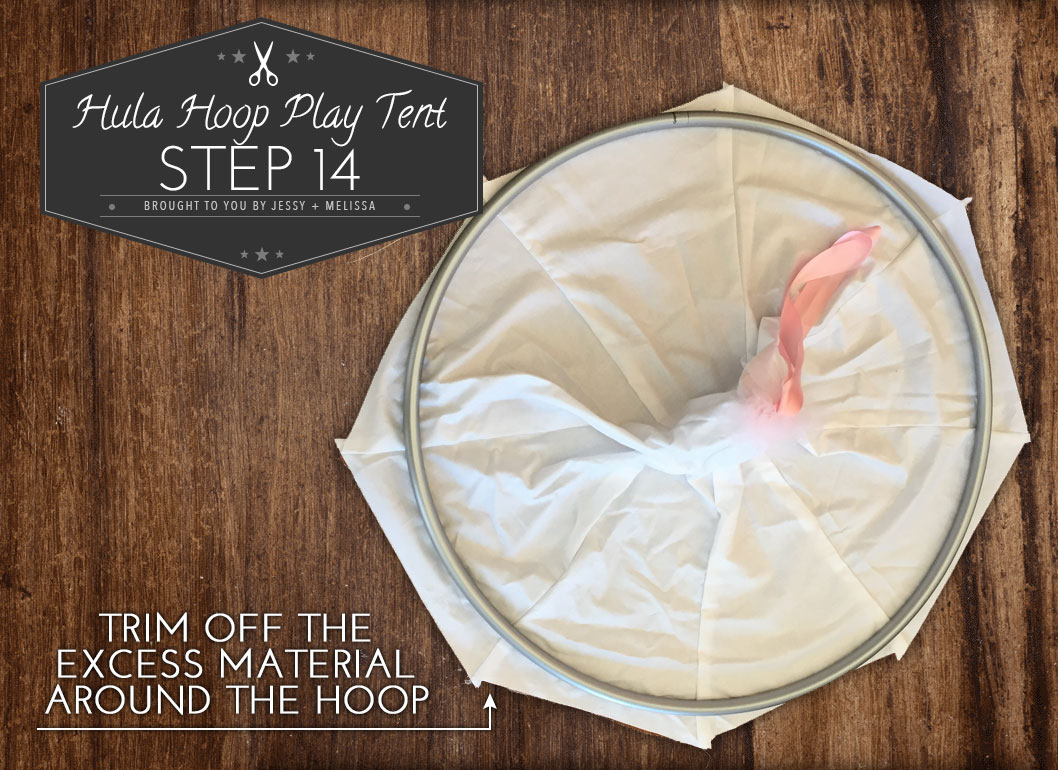
- Lay the hula hoop over the finished tent point and trim the edges to make it a circle, about 1 inch larger than the size of the hula hoop.
Step 15 : Connect the drape material to the zigzag border
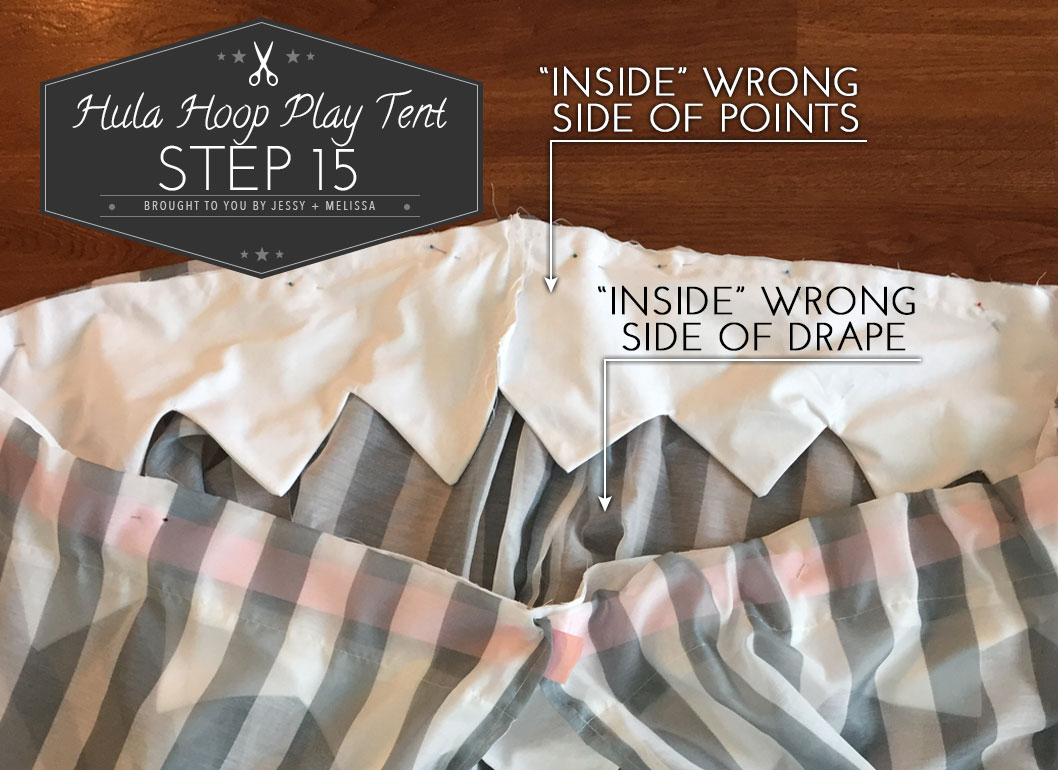
- Pin the wrong of the drape material to the wrong side of the pointed border.
- Using your sewing machine, sew the two together.
Step 16 : Connect the drape material to the tent point
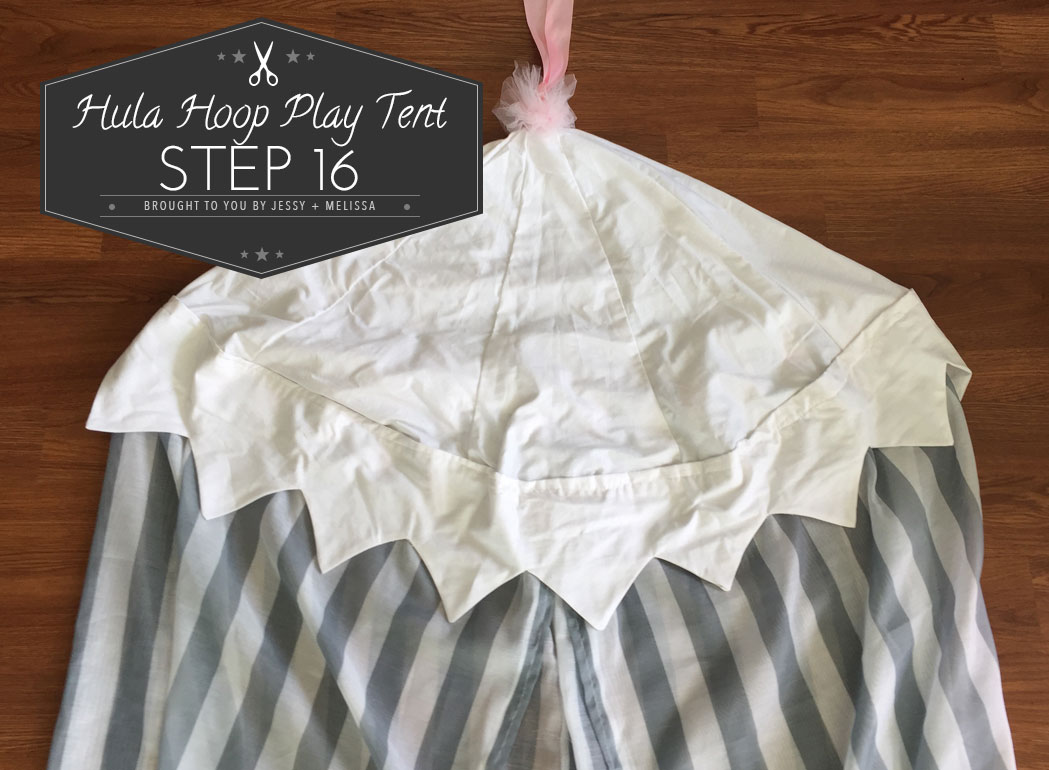
- Now that your drape material and border are connected, you can add the tent top.
- Pin the right of the drape/pint material to the right side of the tent top.
- Then stitch them together on the sewing machine.
- The circumference of your tent top might be bigger than your border when pinning them together. If that happens, just pin the border a bit inside the edge of the tent top, staying true to the circle of the tent top.
Step 17 : Attach the material to the hula hoop with Velcro
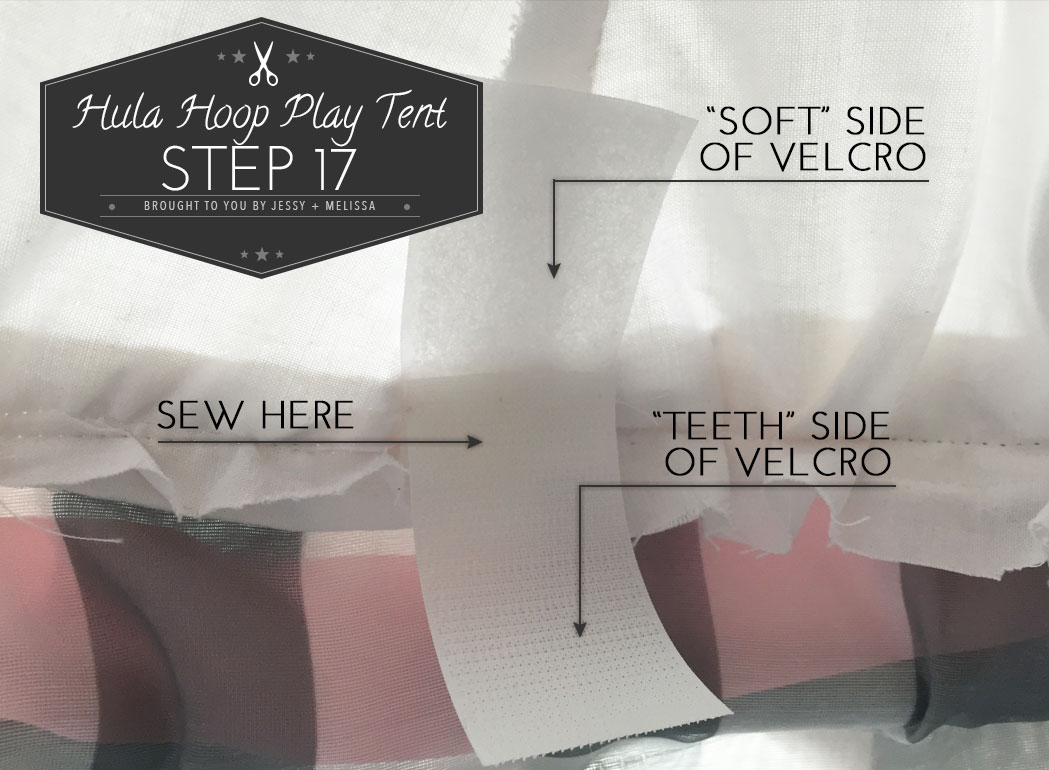
- Stitch 2 velcro pieces onto each triangle to the inside hem where you have connected the tent top and the border together.
- Make sure the Velcro pieces are facing the correct direction, as shown in the image.
- Velcro pieces around the hula hoop on the inside. ( I recommend hanging the ribbon hanger from something to make this eaiser — I used the fire sprinkler. Then get inside the tent with the hoop and attach the velcro to the hoop)
Step 18 : Add the Tulling balls to the edge of the tent top
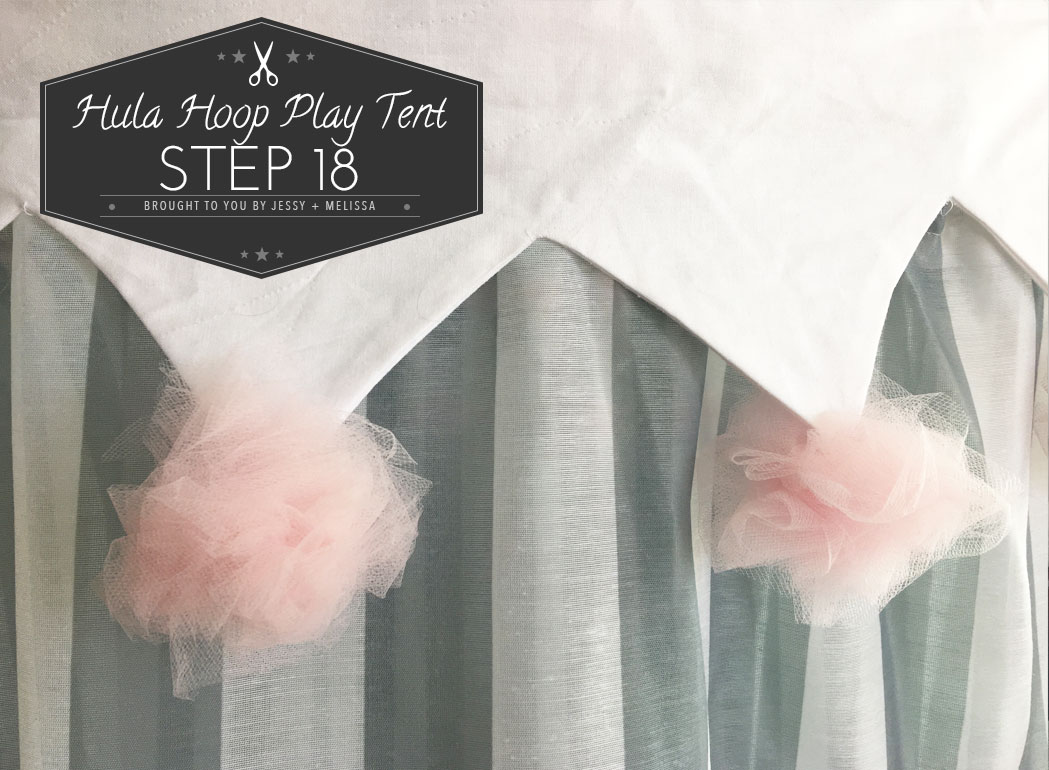
- Cut 50 inch pieces of tulling, one for each point of your tent top
- Take one piece of tulling and crumple it up into a little ball
- Using a needle and tread loosely baste the ball together
- Hand sew a ball to each point of the tent trim
Step 19 : Attach the tiebacks to a piece of velcro
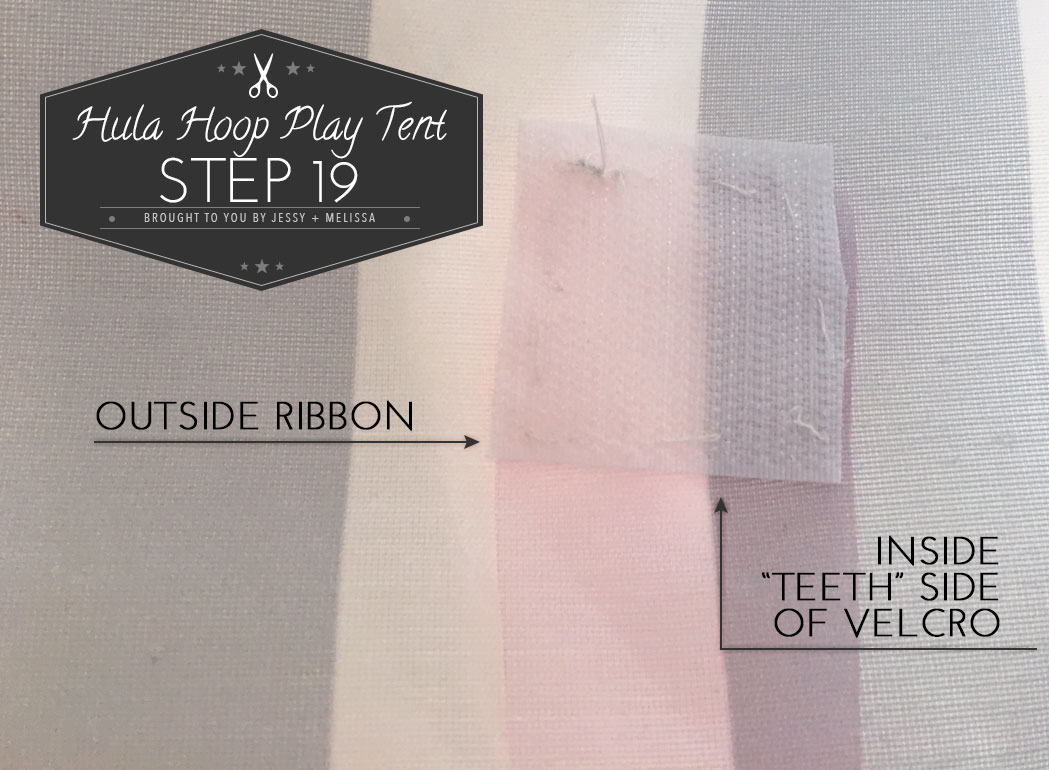
- Cut two 14 inch & two 18 inch pieces of ribbon
- Place the 18 inch piece of ribbon on the out side of the drape material, and one 2×2 inch piece of velcro (teeth side) on the inside of the material.
- Sew the ribbon and piece of velcro together.
- Repeat on the other side.
Step 20 : Add the velcro to the shorter piece of ribbon
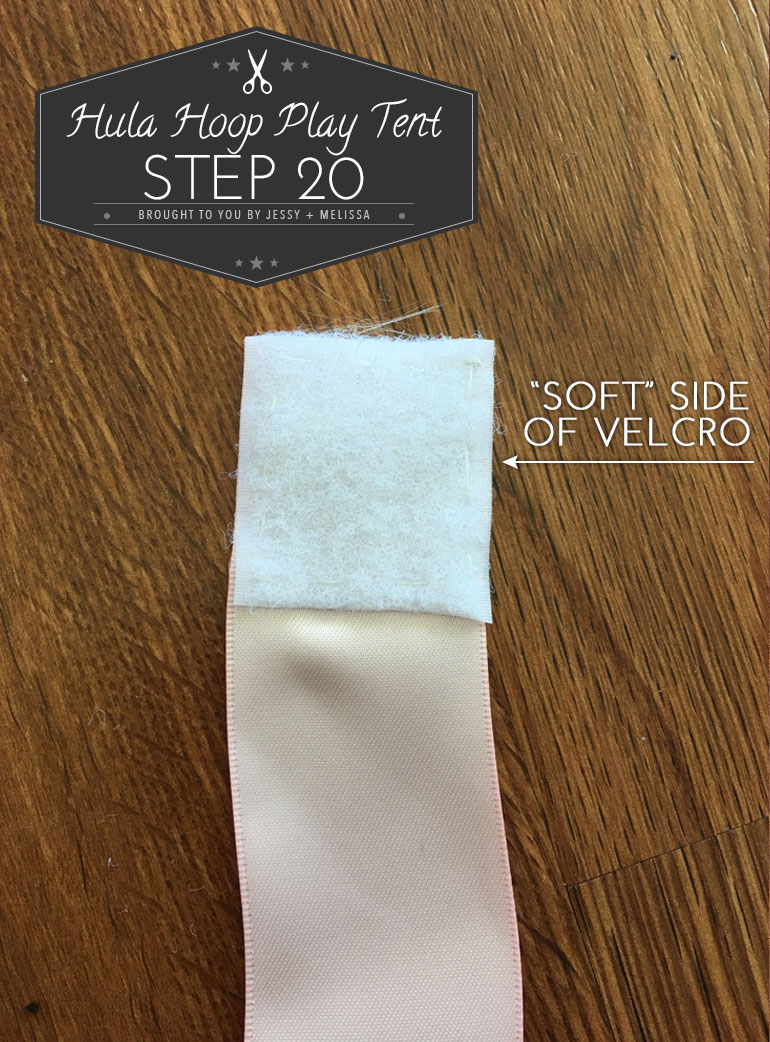
- Take 14 inch of ribbon and sew the soft piece of velcro to the other end.
- Repeat on the other piece of ribbon.
Step 21 : Add the tulling poofs and tie pretty bow
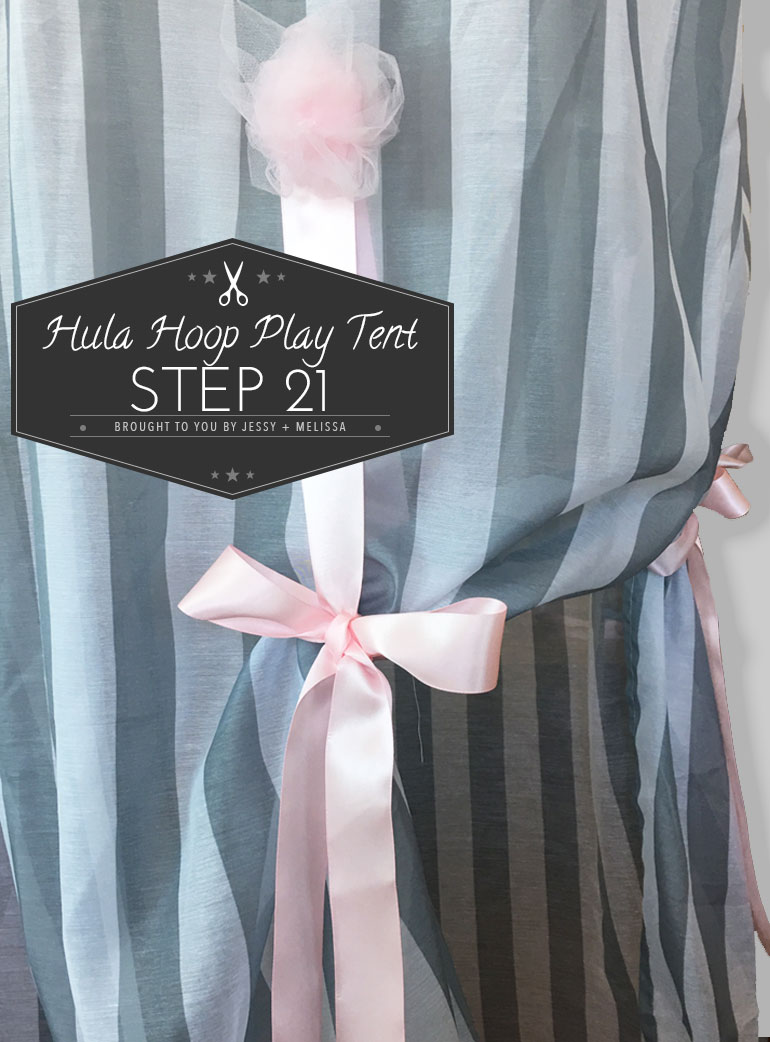
- Add a tulling poof to the outside of the tent where you attached outer ribbon and inner velcro.
- Repeat on the other side.
- Attach the other 2 pieces of ribbon with the velcro, you’ll now have one piece of ribbon on the inside and outside of your tent
- Tie the pieces of ribbons as tiebacks into pretty bows that are about 8 inches from the poof
- When you are happy with the bows, sew them from behind so that they will not untie (the velcro is how the tiebacks will open in close instead of creating a bow every time)
Step 22 : Hang the tent from the ceiling
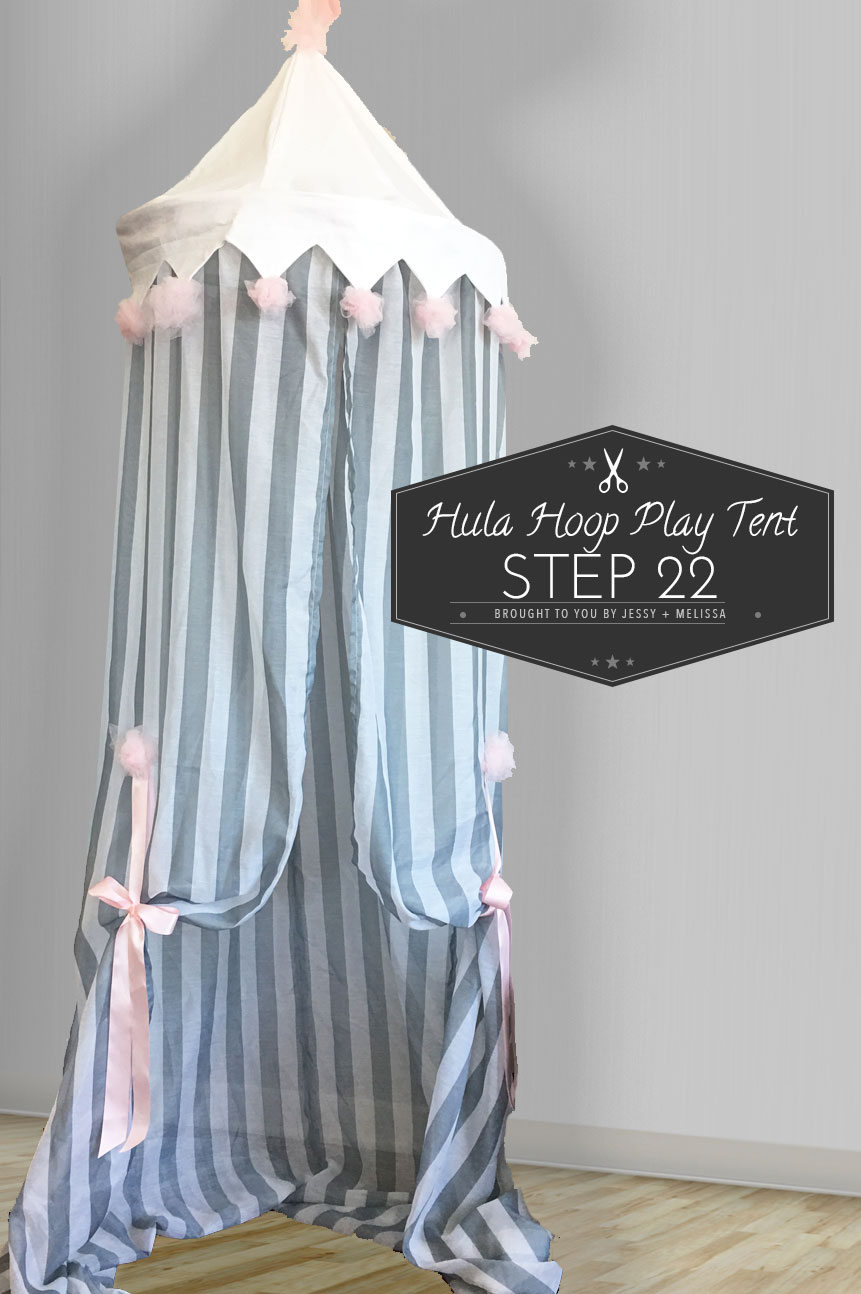
- Hang your tent from the ceiling with a banana hook and heavy duty adhesive.
- You can use the hook of your choice, and the curtains can pool on the ground a bit.
- Add a cushion, pouf, bean bag or pillow for the child to sit on and you’re good to go!